Creating My First Movie Using Blender – Part 1
A retrospective on what I learned by committing to far too large of a project while creating "A Cabin on the Plains" in Blender
I love animation, and I am fascinated with creating 3D worlds. I have had a dream of creating my own movies for a long time. By this point, Blender, a free and open-source software (FOSS) CGI tool, is more than up to the technical challenge. I have previous experience using Solidworks and AutoCAD for engineering designs, so I decided now is as good a time as any to take the leap into more artistic endeavors.
I’ve made up my mind. I’m going to create my first movie using Blender.
As a trained engineer, I realized the logical way to do this would be to start with a series of smaller projects and work my way up. I definitely shouldn’t just start by creating an animated movie. That would be a ridiculous recipe for failure.
So naturally, I jumped right in and created an animated scene anyway.
Spoiler alert, I pulled it off. It’s a little over a minute long, so please take a moment to watch the video, then keep reading to see what I learned while creating it.
Project Goals
Every good project has goals. If I’m going to jump straight into the deep end, I want to get as much out of the experience as I can. So let’s set some goals:
- Animate Camera Movements
- Produce and Stage Props
- Make Good Looking Water
- Design Complex Structures
- Build Realistic Trees and Grasses
- Create Interesting Lighting Effects
There’s no doing like overdoing, am I right?
I wanted to work on environmental scenes. No characters yet. These goals support that by focusing on modeling structures, props, trees, and grass. For animation, I wanted to work on a wind effect for the tree leaves and grass blades, camera tracking, water surface ripples, and lighting.
A big thank you to Rob Tuytel for teaching me many of the techniques I used and expanded on in this scene. If you’re interested in Blender, I highly recommend you check out his courses. This is not an affiliate link, he just made an awesome series.
Now that I have six goals to focus on, let’s set up some shots to highlight them.
Making the Shot List
I started off by blocking out the plan for the video. I decided to use a tool from traditional filmmaking and put together a shot list. As I mulled over what I thought I could achieve and what I could do to highlight these goals, I eventually settled on:
- Traveling up a dirt driveway to a cabin
- Revolve around a firewood cutting station
- Trucking around the back of the scene
- Flying over a pond to the front porch
- Panning over trees as the sun sets
- A night scene of the cabin
Well… that’s not an intimidating task list at all…
Time to get to work.
Goal 1 – Animate Camera Movements
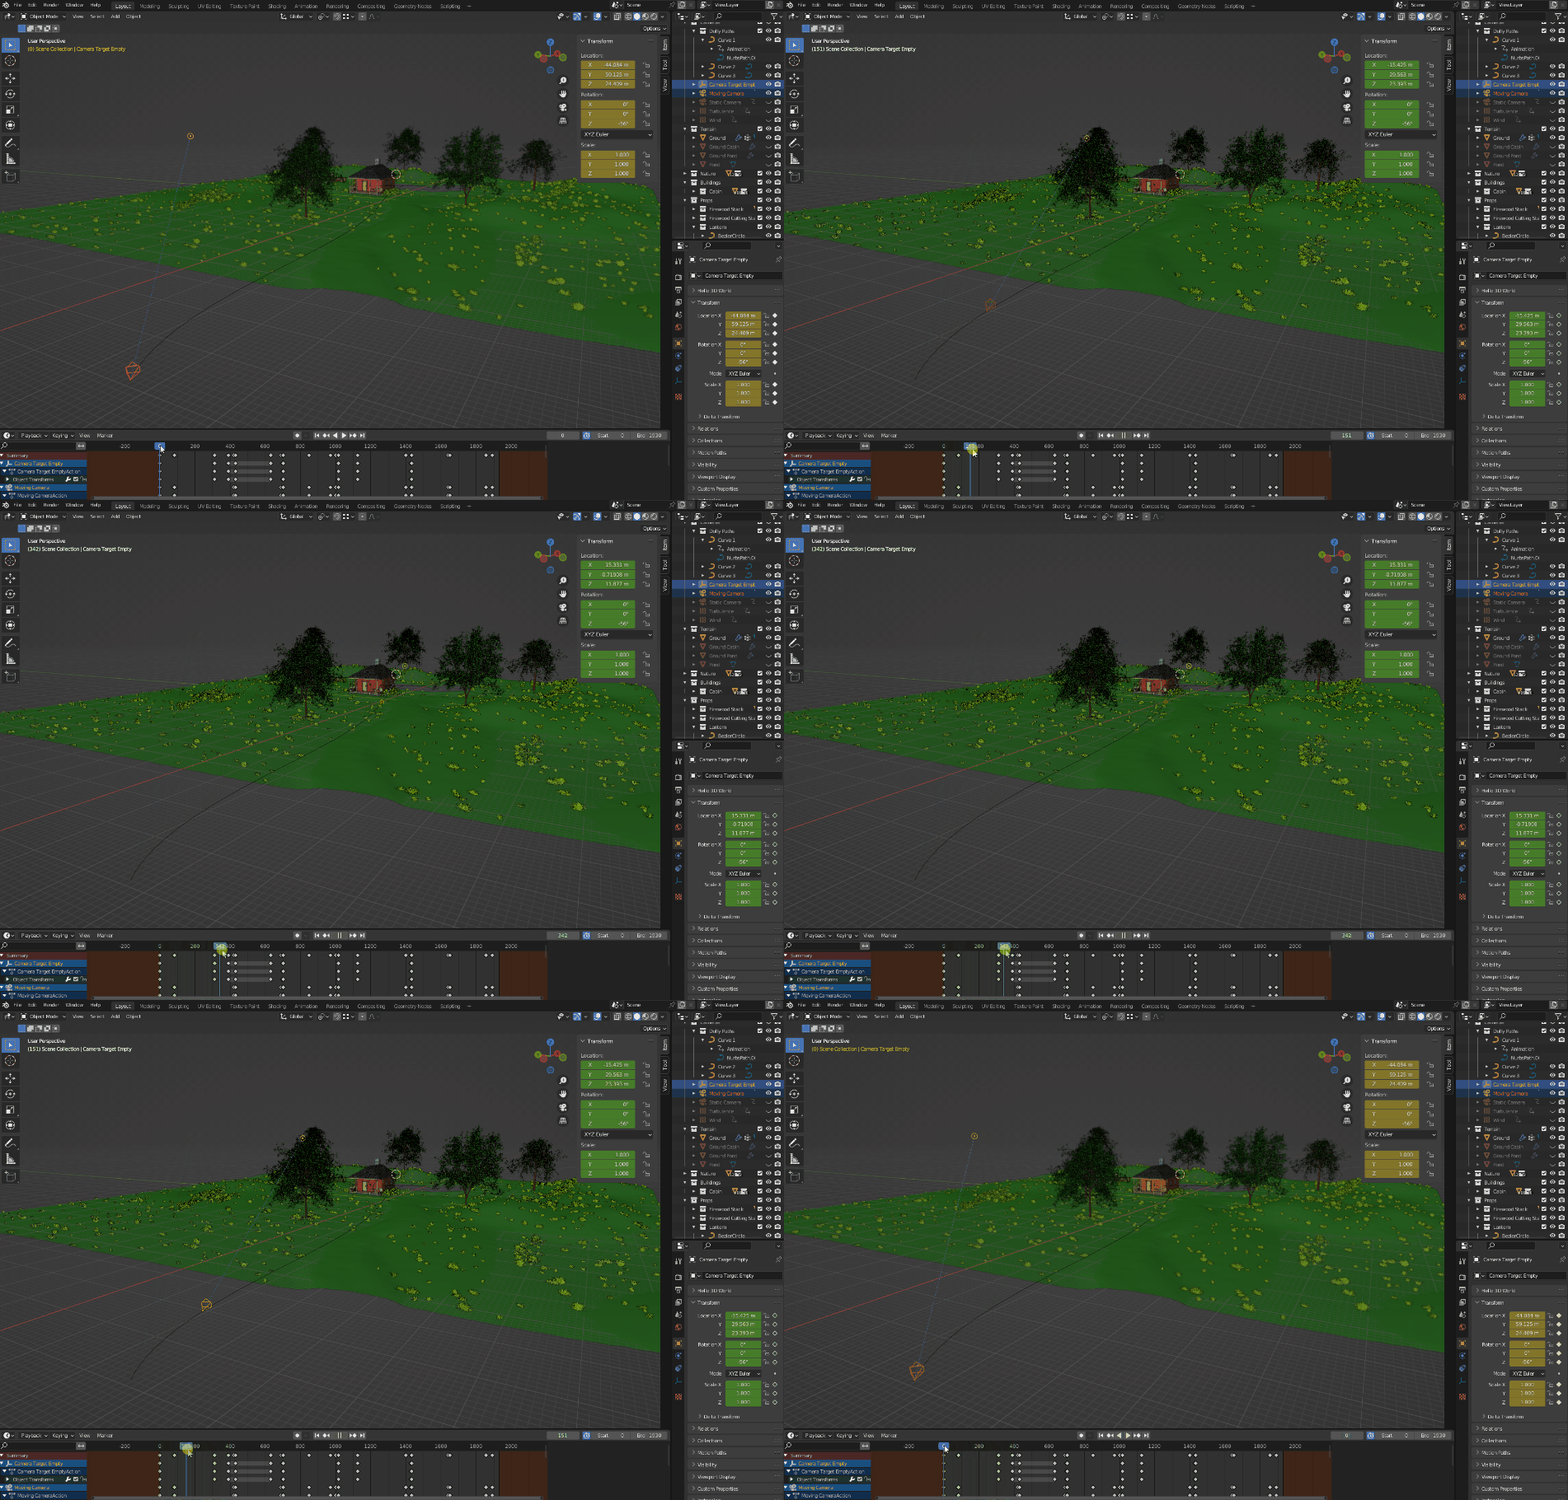
It’s really hard to show off your amazing 3D world from the perspective of a camera that never moves. To get these shots, I set up a Nurbs curve and then adjusted it in 3D space until I got the path I wanted. Then, I added a constraint to the camera to follow the curve.
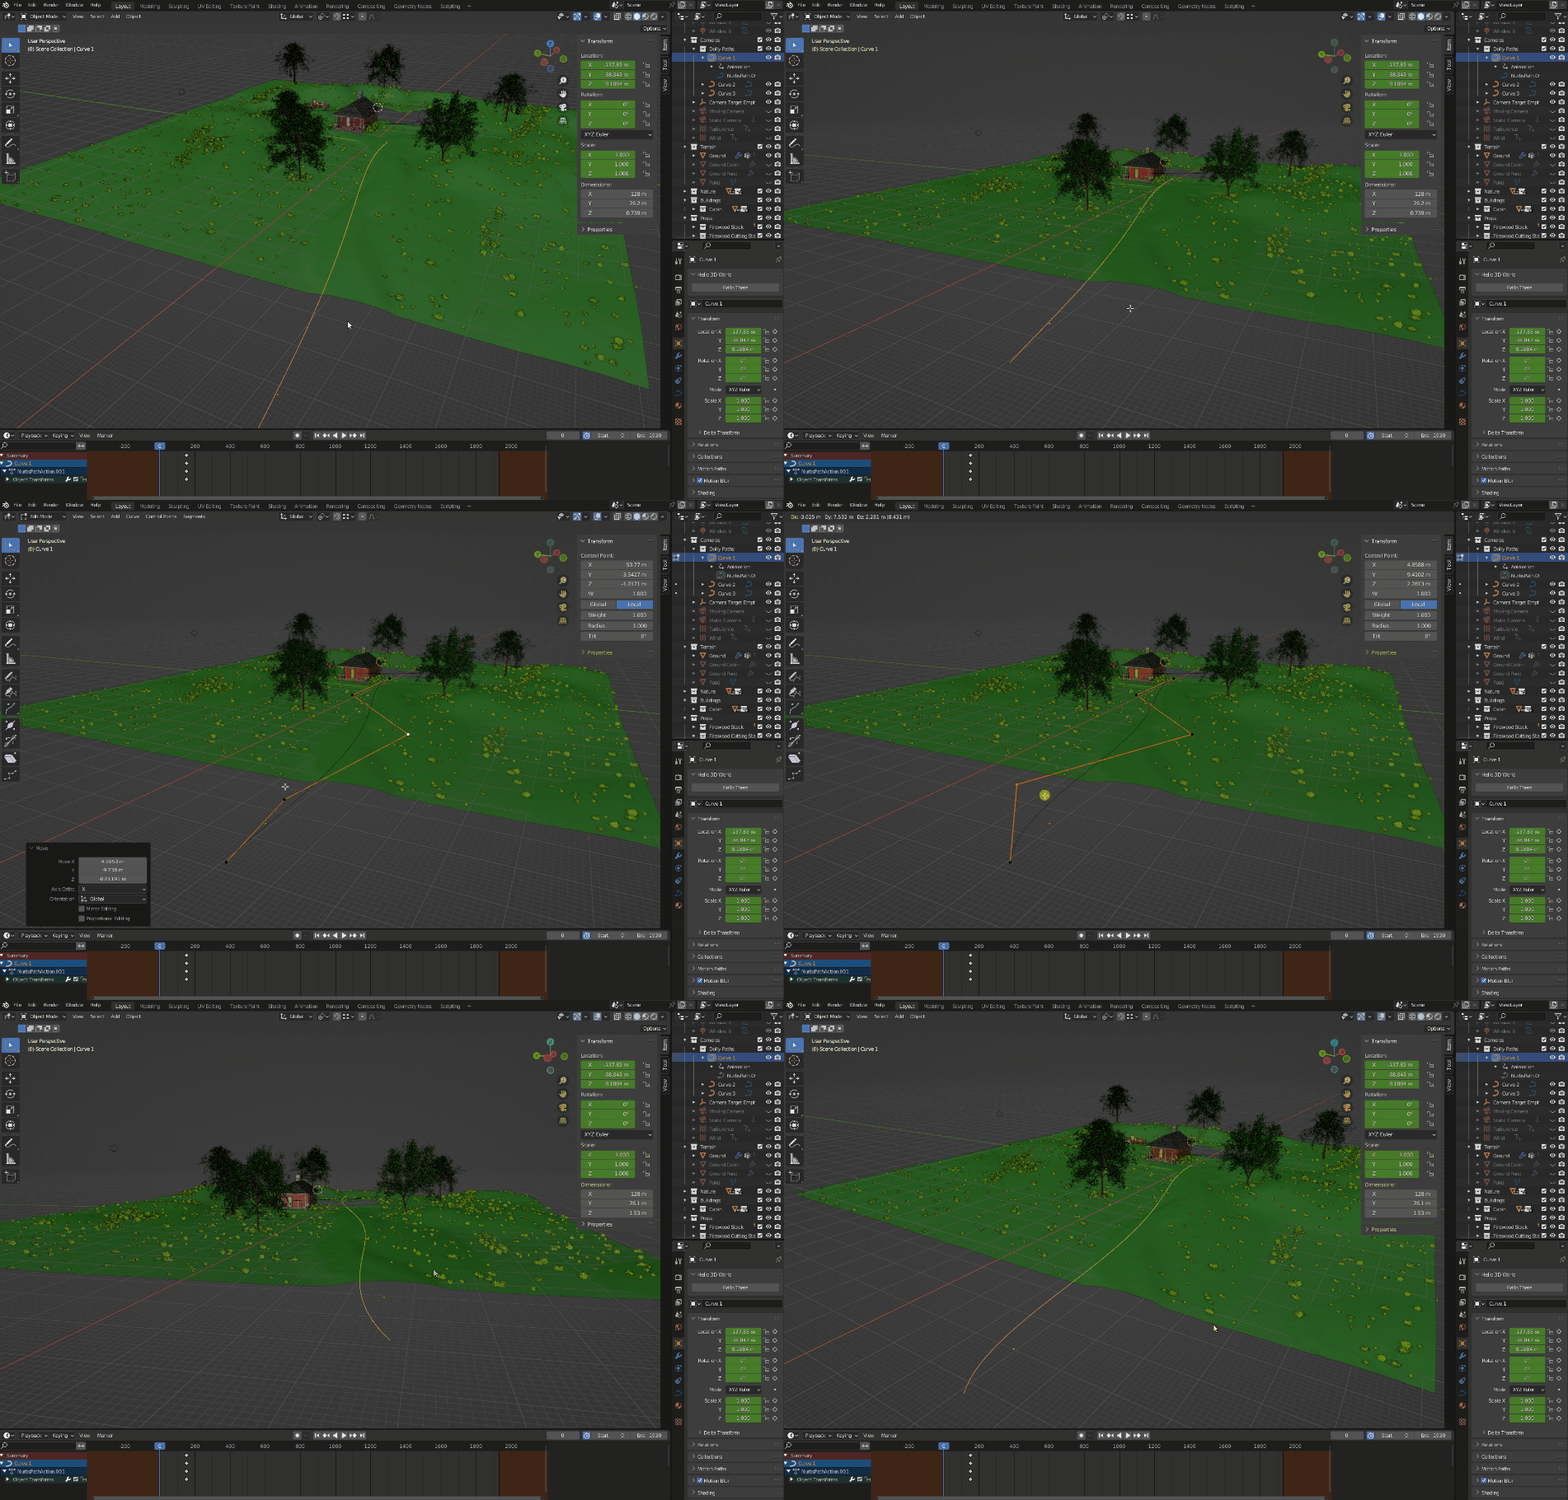
To get the panning effect at the beginning while I did this, I added an empty circle. Empties are objects that do not appear on the final render and have no interactions with physics effects. Then it is just a matter of applying the constraints to the camera. First, I use a “Follow Path” constraint that targets this curve, then a “Track To” constraint targeting the empty. I set the position keyframes on the empty at frame 0, then moved it to where I wanted it to end up at frame 421 and set another keyframe.
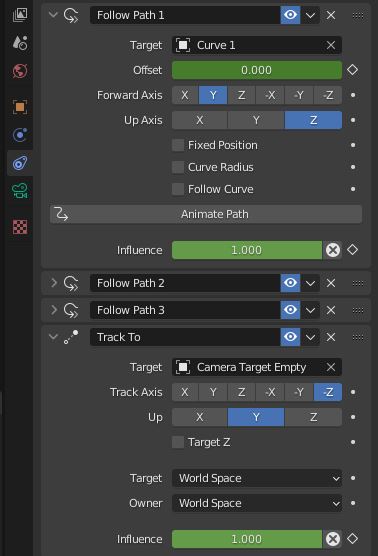
Constraint settings on the camera for the opening shot. Why, you may ask, if I want to focus on the cabin would I use an empty and not just focus on one of the cabin objects? Well, by using the empty I can decouple what the camera points at from the path it moves along. Now, the camera will lock on to this target as both move smoothly from one place to the next.
I did separate the two movements, though. You can see the camera starts panning with the empty for about three seconds before it begins moving along the curve. This gave the shot a little more interest as it opens up on the setting.
Altogether, we get a nice smooth result like this:
I repeated this process for the second shot around the woodpile and shot four as it sweeps across the pond and up to the porch. The other three shots just use simple keyframes applied to the camera’s position and rotation.
I’m happy with these shots. They used several different techniques, gave the video some interesting angles, and really helped tell the scene’s story. I’d say this goal was met.
Goal 2 – Produce and Stage Props
Every movie should tell a story. Even though this movie is 64 seconds long and doesn’t feature any people, it still uses environmental storytelling.
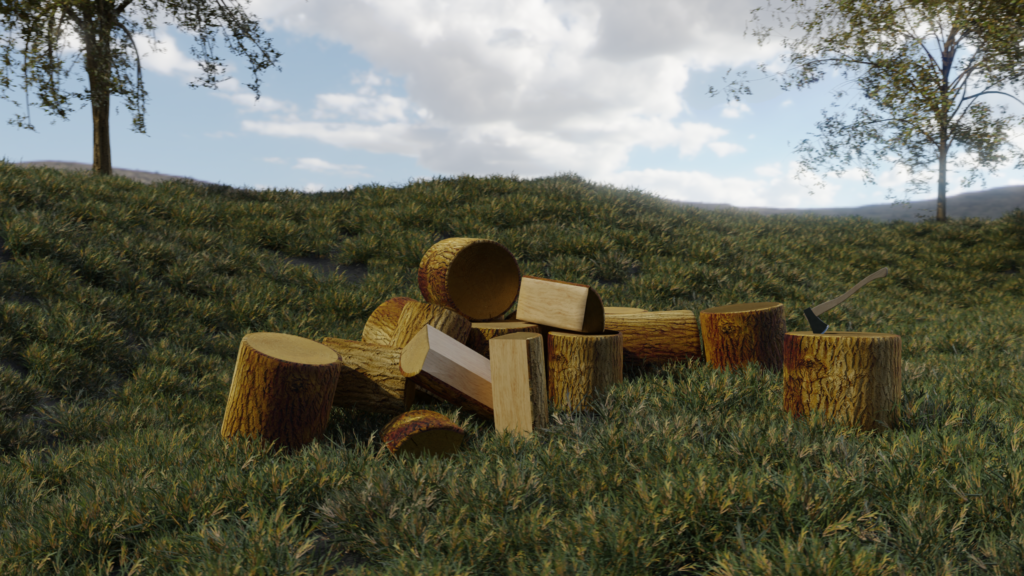
For example, the second shot is around the log-splitting station. I set this up against a small hill around the back of the house. The cabin’s owner seemingly uses this pile of stumps, some already split into firewood, in that cabin with the stone fireplace in the back. That ax is sharpened (as seen while rotating around when it briefly catches and reflects the sunlight) and hasn’t been left to rust away.
This place isn’t abandoned. It’s lived in.
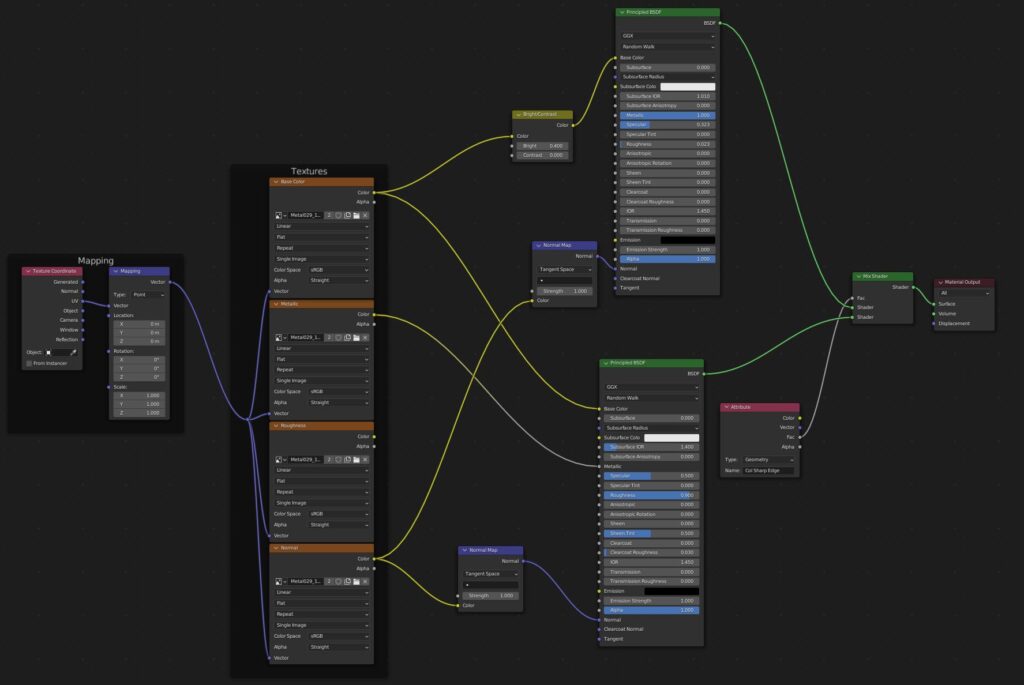
I love how the ax turned out. I got this effect using only a single metal texture. The sharpened part uses the output from the diffuse texture and normal map into a principled shader. There, I just increased the brightness, turned down the roughness, and maxed out the metallic.
I then mixed the outputs together and controlled them with this attribute node tied to a vertex map. Now if I go back to the ax, I can switch to vertex paint mode and add shiny parts to my heart’s content. I will do a tutorial later on how I made this texture, but here is the shader diagram:
The biggest thing I learned with both the ax and the wood logs is that I used way more geometry than I needed on these.
The vertex shading causes a jagged look up close because it blends the shader between the rectangular polygon’s corners. I could have used texture paint here instead, but with the geometry count that high, it became unnoticeable from further away and was satisfactory for this shot. It didn’t merit the extra effort to make that change.
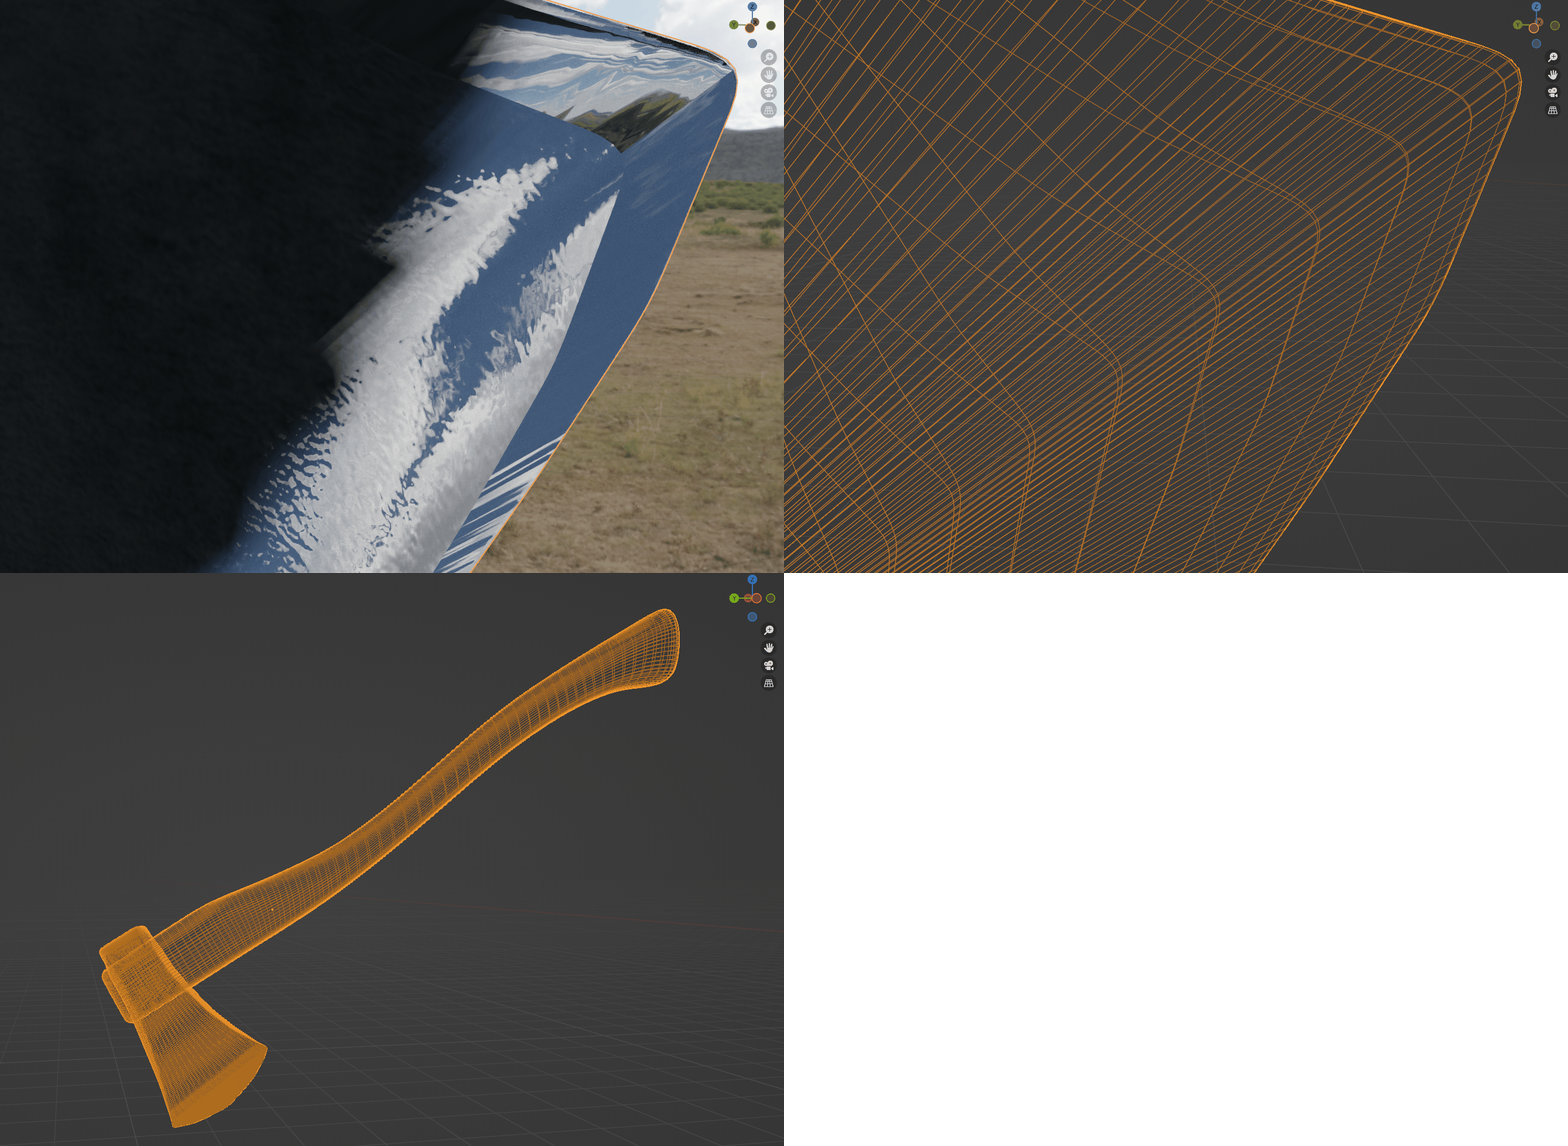
I made the same excessive geometry mistake in the stumps. I planned to use a displace modifier with the bark texture to rough it up a bit, but I couldn’t get it looking right, so I ended up leaving it out. As a result, I had more geometry than I needed and the stumps look a little flat. If you know a better way to do this, let me know in the comments.
The only other props I created for this were the cabin and the items on the front porch. The stack of cut logs staged and ready to burn, the rocking chair to relax in and take in the views, and an oil-burning lantern on a hook. This isn’t a modern home, it is a wilderness retreat to get away from the world.
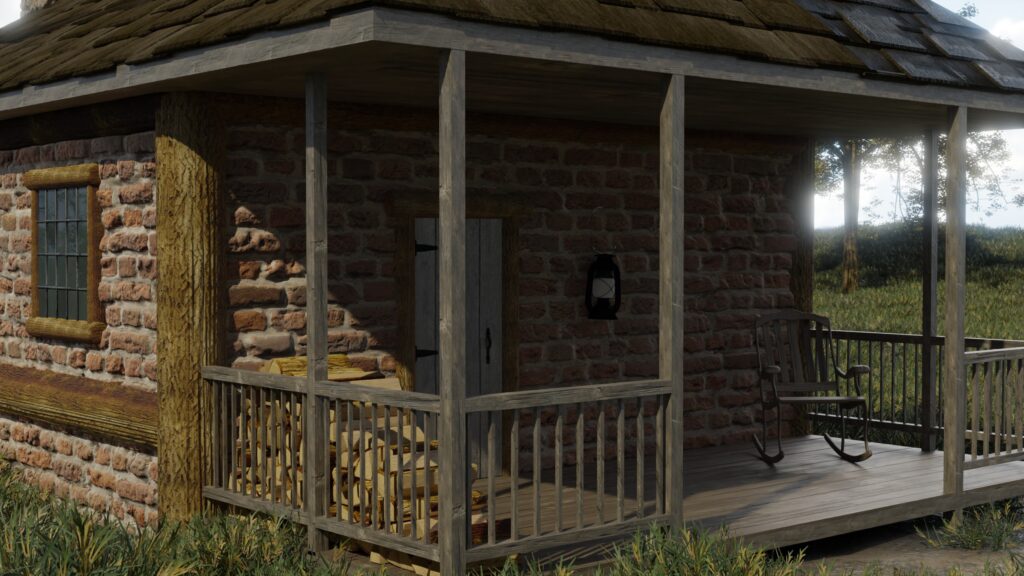
The props aren’t perfect, but I think the staging is good, so I stopped fiddling with it and moved on.
Goal 3 – Make Good Looking Water
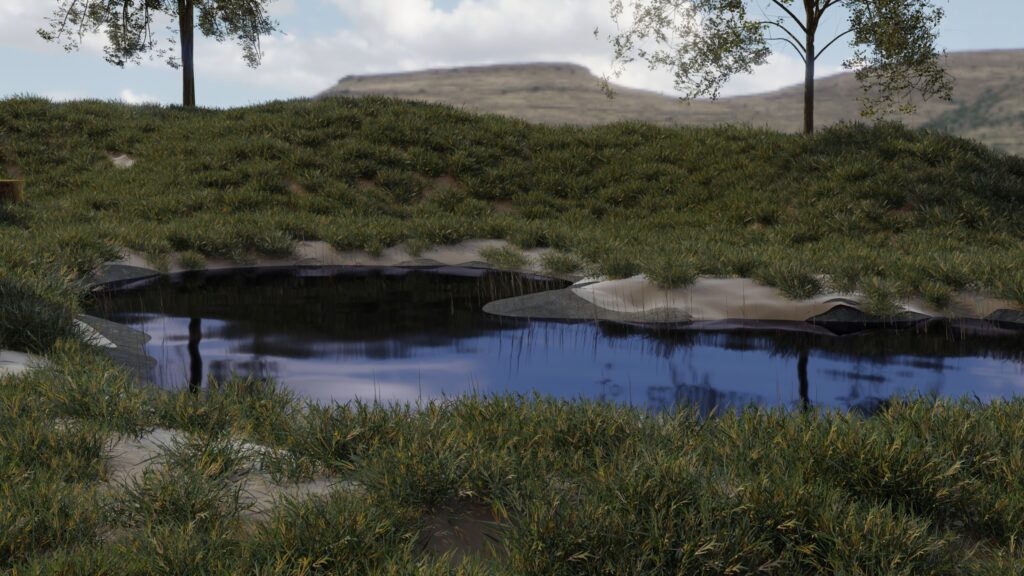
I had no idea how to make water, so Dr. Google was my friend here. From there, I ended up with this:
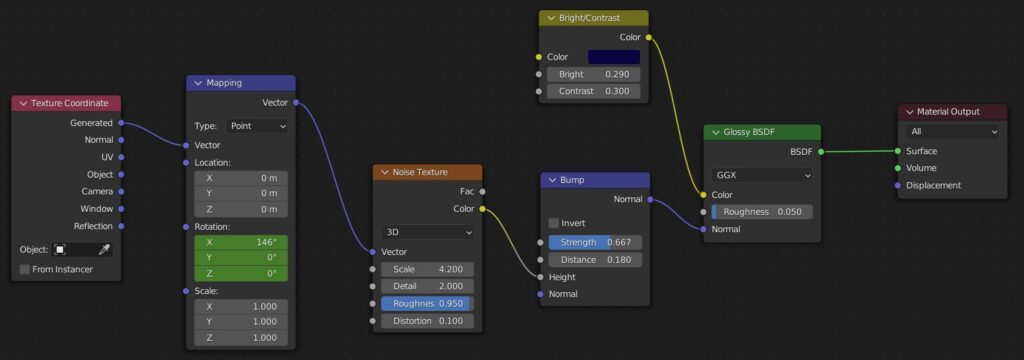
This seems to be a pretty common node setup. The noise roughness and bump strength control the surface look of the water, and the glossy BSDF roughness controls how reflective it is. I added the brightness/contrast node to make it a little less pure and a little richer like it’s got some of that dark mud absorbed into it. It doesn’t look half bad.
To animate it, I set a keyframe on the rotation value in the mapping node. I used the X rotation to add a little gentle sway on the water by going to 1200 degrees by the last frame. It seemed about right as I was playing around with it in the shader workspace.
Because the surface ripples are just procedurally generated with noise, I could have chosen a different axis here. Any of them would have worked, I just liked the way this one turned more as I moved it.
However, if you pay close attention to the final rendered animation, it looks too unnatural. The water looks alright in still images, but it makes far too many ripples far too fast, and it doesn’t match up well with the wind effect I have that causes the grass to sway.
I didn’t have a great way to preview that in real-time, so I didn’t notice this result until the final render. By that point, it had taken up so much time rendering frame by frame, I wasn’t going to go back and keep trying to dial it in. I’d say the concept with the water was alright. But the execution?
Bleh.
I’m going to mark that down as something to improve on in the future. I’m still on the hunt for a better way to do this.
What Next?
I’ve already covered a lot of ground from these lessons creating my first movie in Blender. To keep this from getting too long though, I’ll stop now and cover the rest in another post.
Continue reading Creating My First Blender Video – Part 2 for the conclusion!


