
Creating My First Movie Using Blender – Part 2
A retrospective on what I learned by committing to far too large of a project while creating "A Cabin on the Plains" in Blender
Intro
Welcome back as we continue to go over the lessons I learned while creating my first movie using Blender! In Creating My First Movie Using Blender – Part 1, I covered
- setting the goals
- creating a shot list
- animating the camera movements
- producing and staging props
makingattempting realistic-looking water for the pond
The rest of this post goes over the final four goals: design complex structures, build realistic trees and grasses, and create interesting lighting effects. Finally, I’ll tell you the overarching lessons I took away from this project.
Check out the final video result if you haven’t seen it yet:
Goal 4 – Design Complex Structures
Creating structures is where my engineering brain shines. I didn’t use reference images for this cabin, I just free-formed it to make something interesting. Probably not the best plan, but I don’t think it looks too bad.
I started with the deck. After all, I’ve built real decks before. How hard could this be?
Modeling the posts, frame, and railings wasn’t that bad. But then I tried doing all the planks with a plank texture on a single plain, but it looked… well…
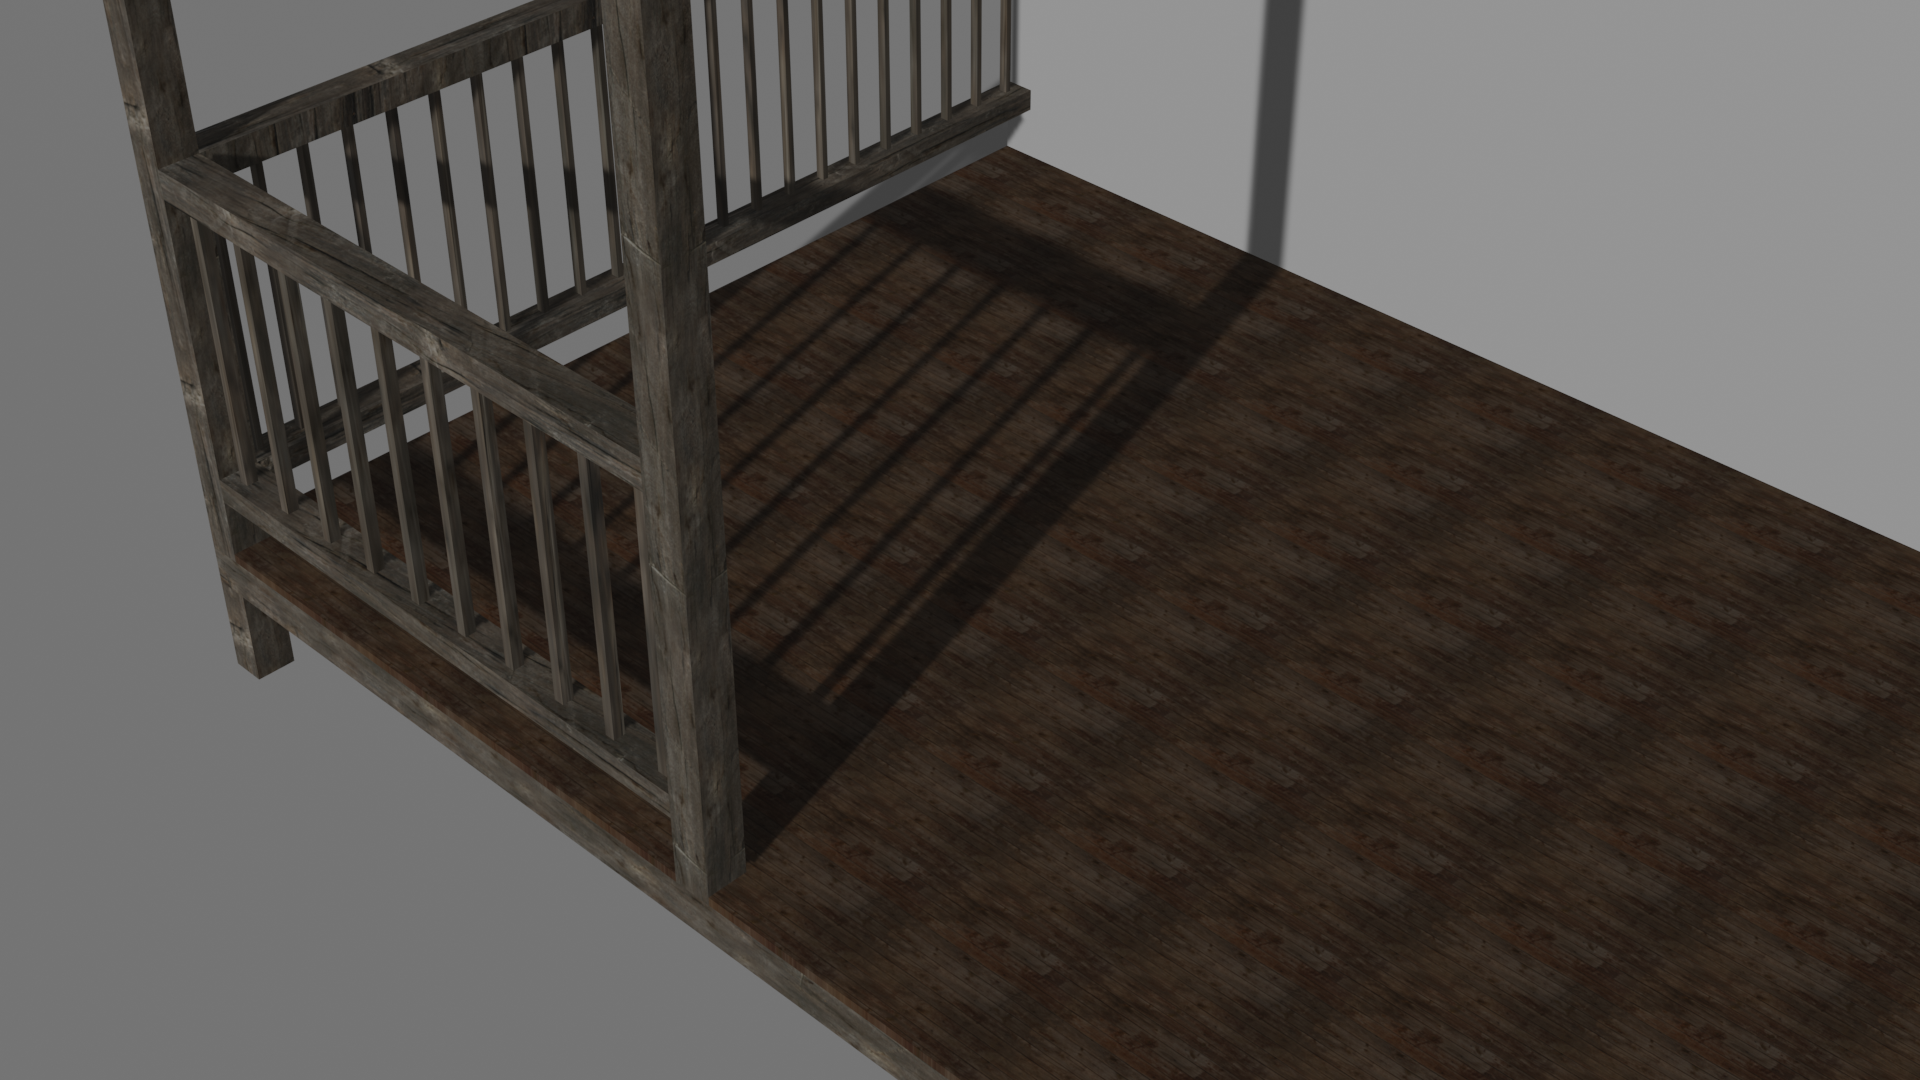
I never claimed the real decks I have built were all that good, I guess…
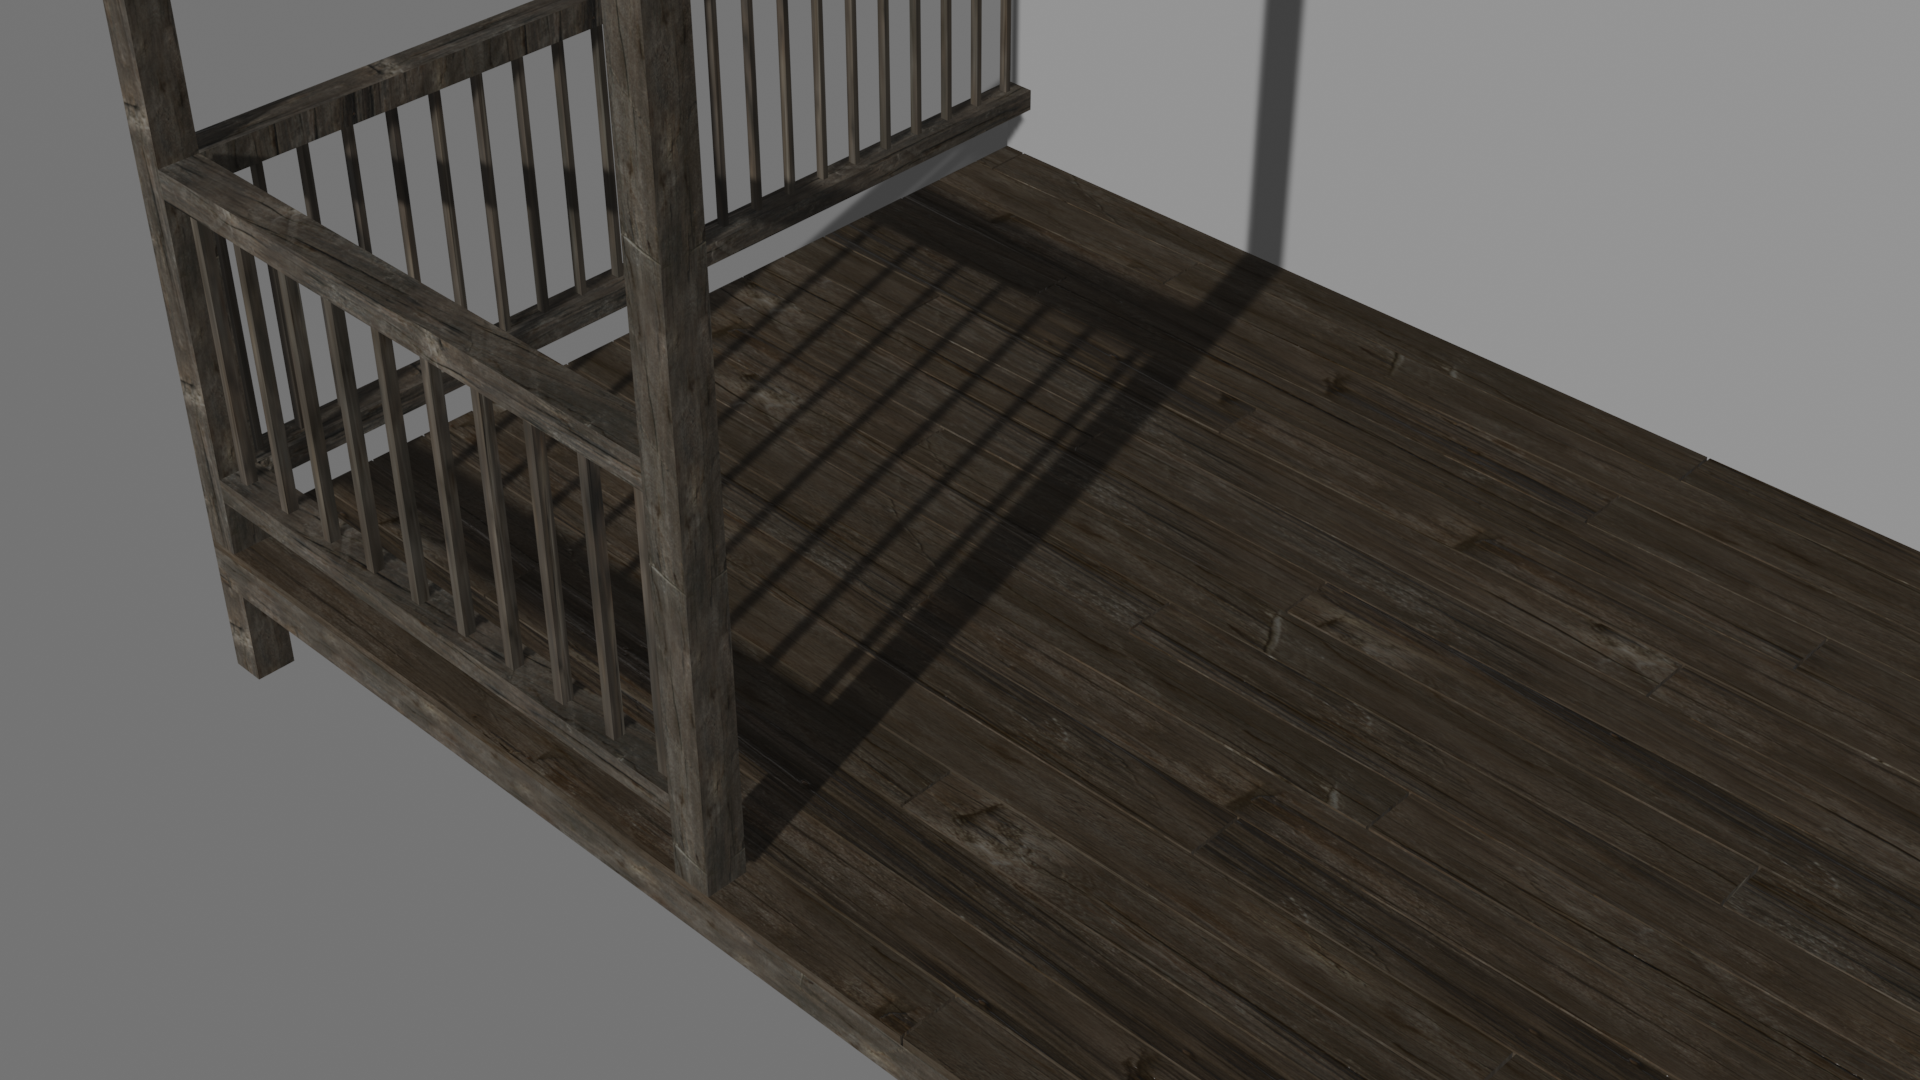
Anyway, I went and built three individual offset planks, used an array modifier to extend both to the end of the deck and the house, as well as offset the UV coordinates so the wood grain texture wasn’t the exact same board to board. A Boolean difference modifier trims off the overhang. At last, I ended up with this:
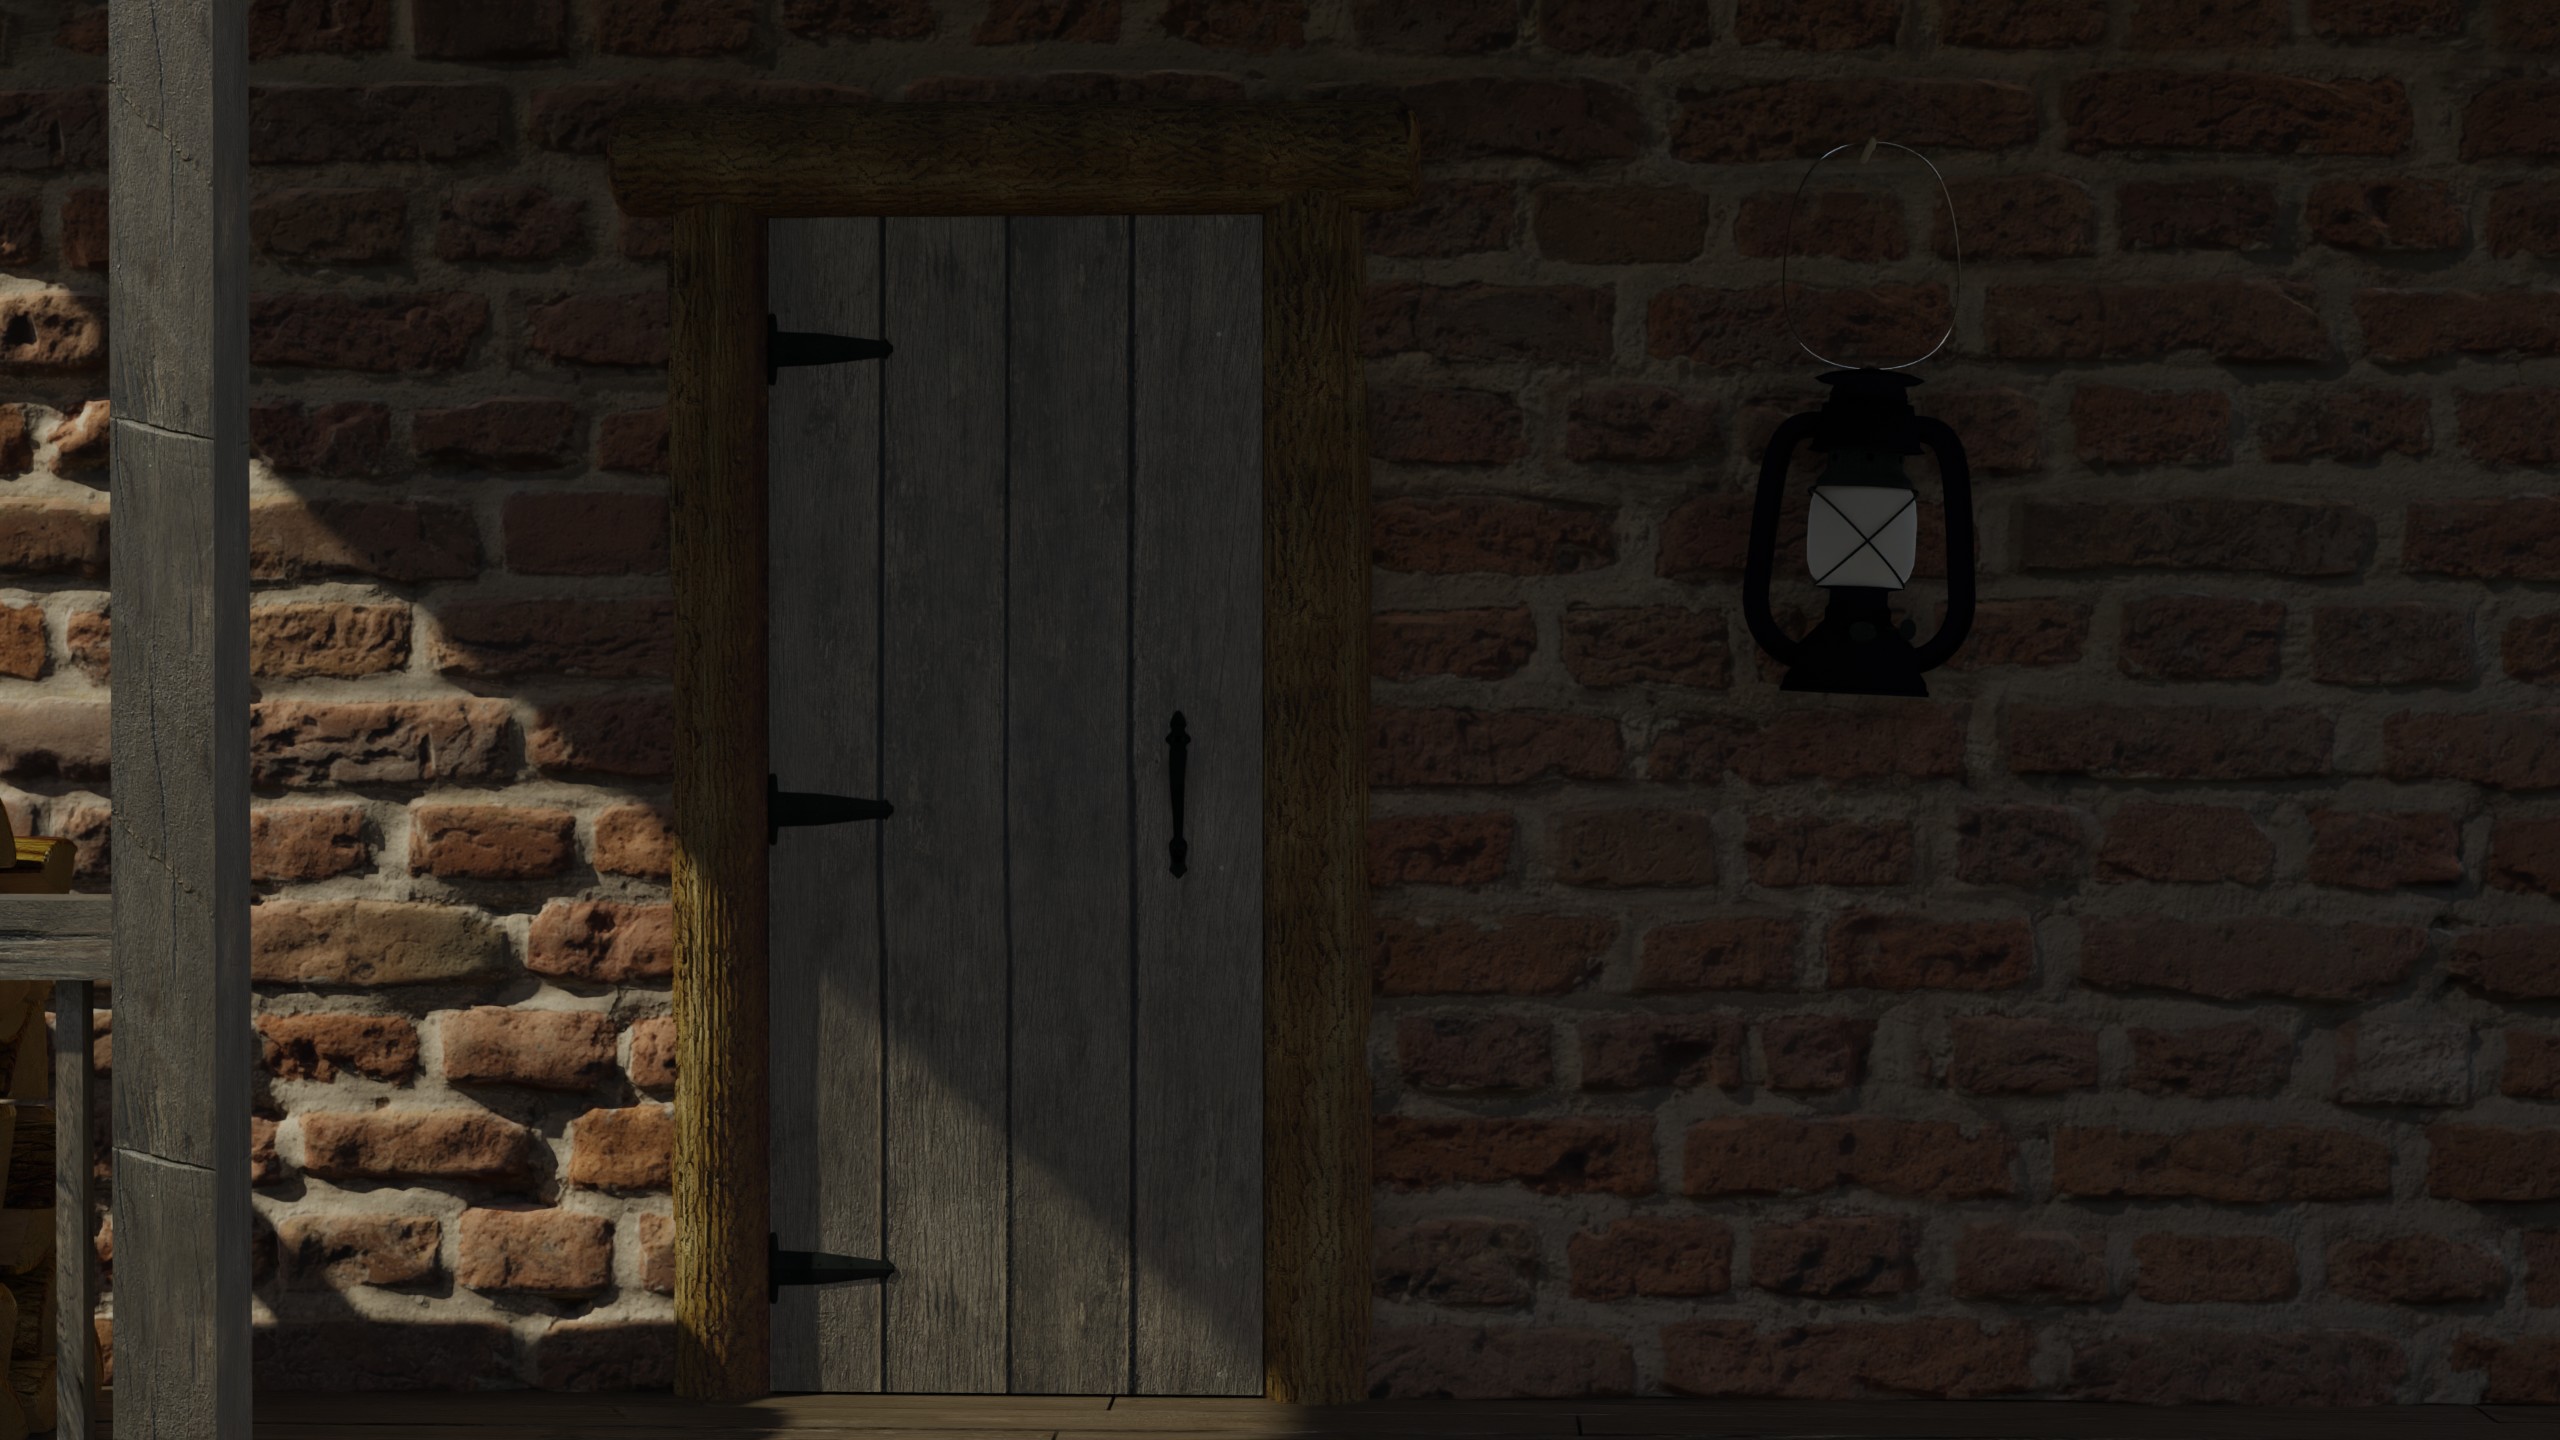
When I made the door, I learned from the ax and stumps and used significantly less geometry for the latch and hinges. I modeled half of a hinge with a mirror modifier and arrayed the rest up the door. The hinges and the door handle reuse the same metal texture as the ax head.
The roof uses wood shakes. I tried using a single plane, but it looked terrible (i.e. deck flashbacks). So I made about 15 to 20 different variations on a shake, layered them together, and varied the pattern up and down all three sides of the roof. It definitely took more time, but it turned out a LOT better.
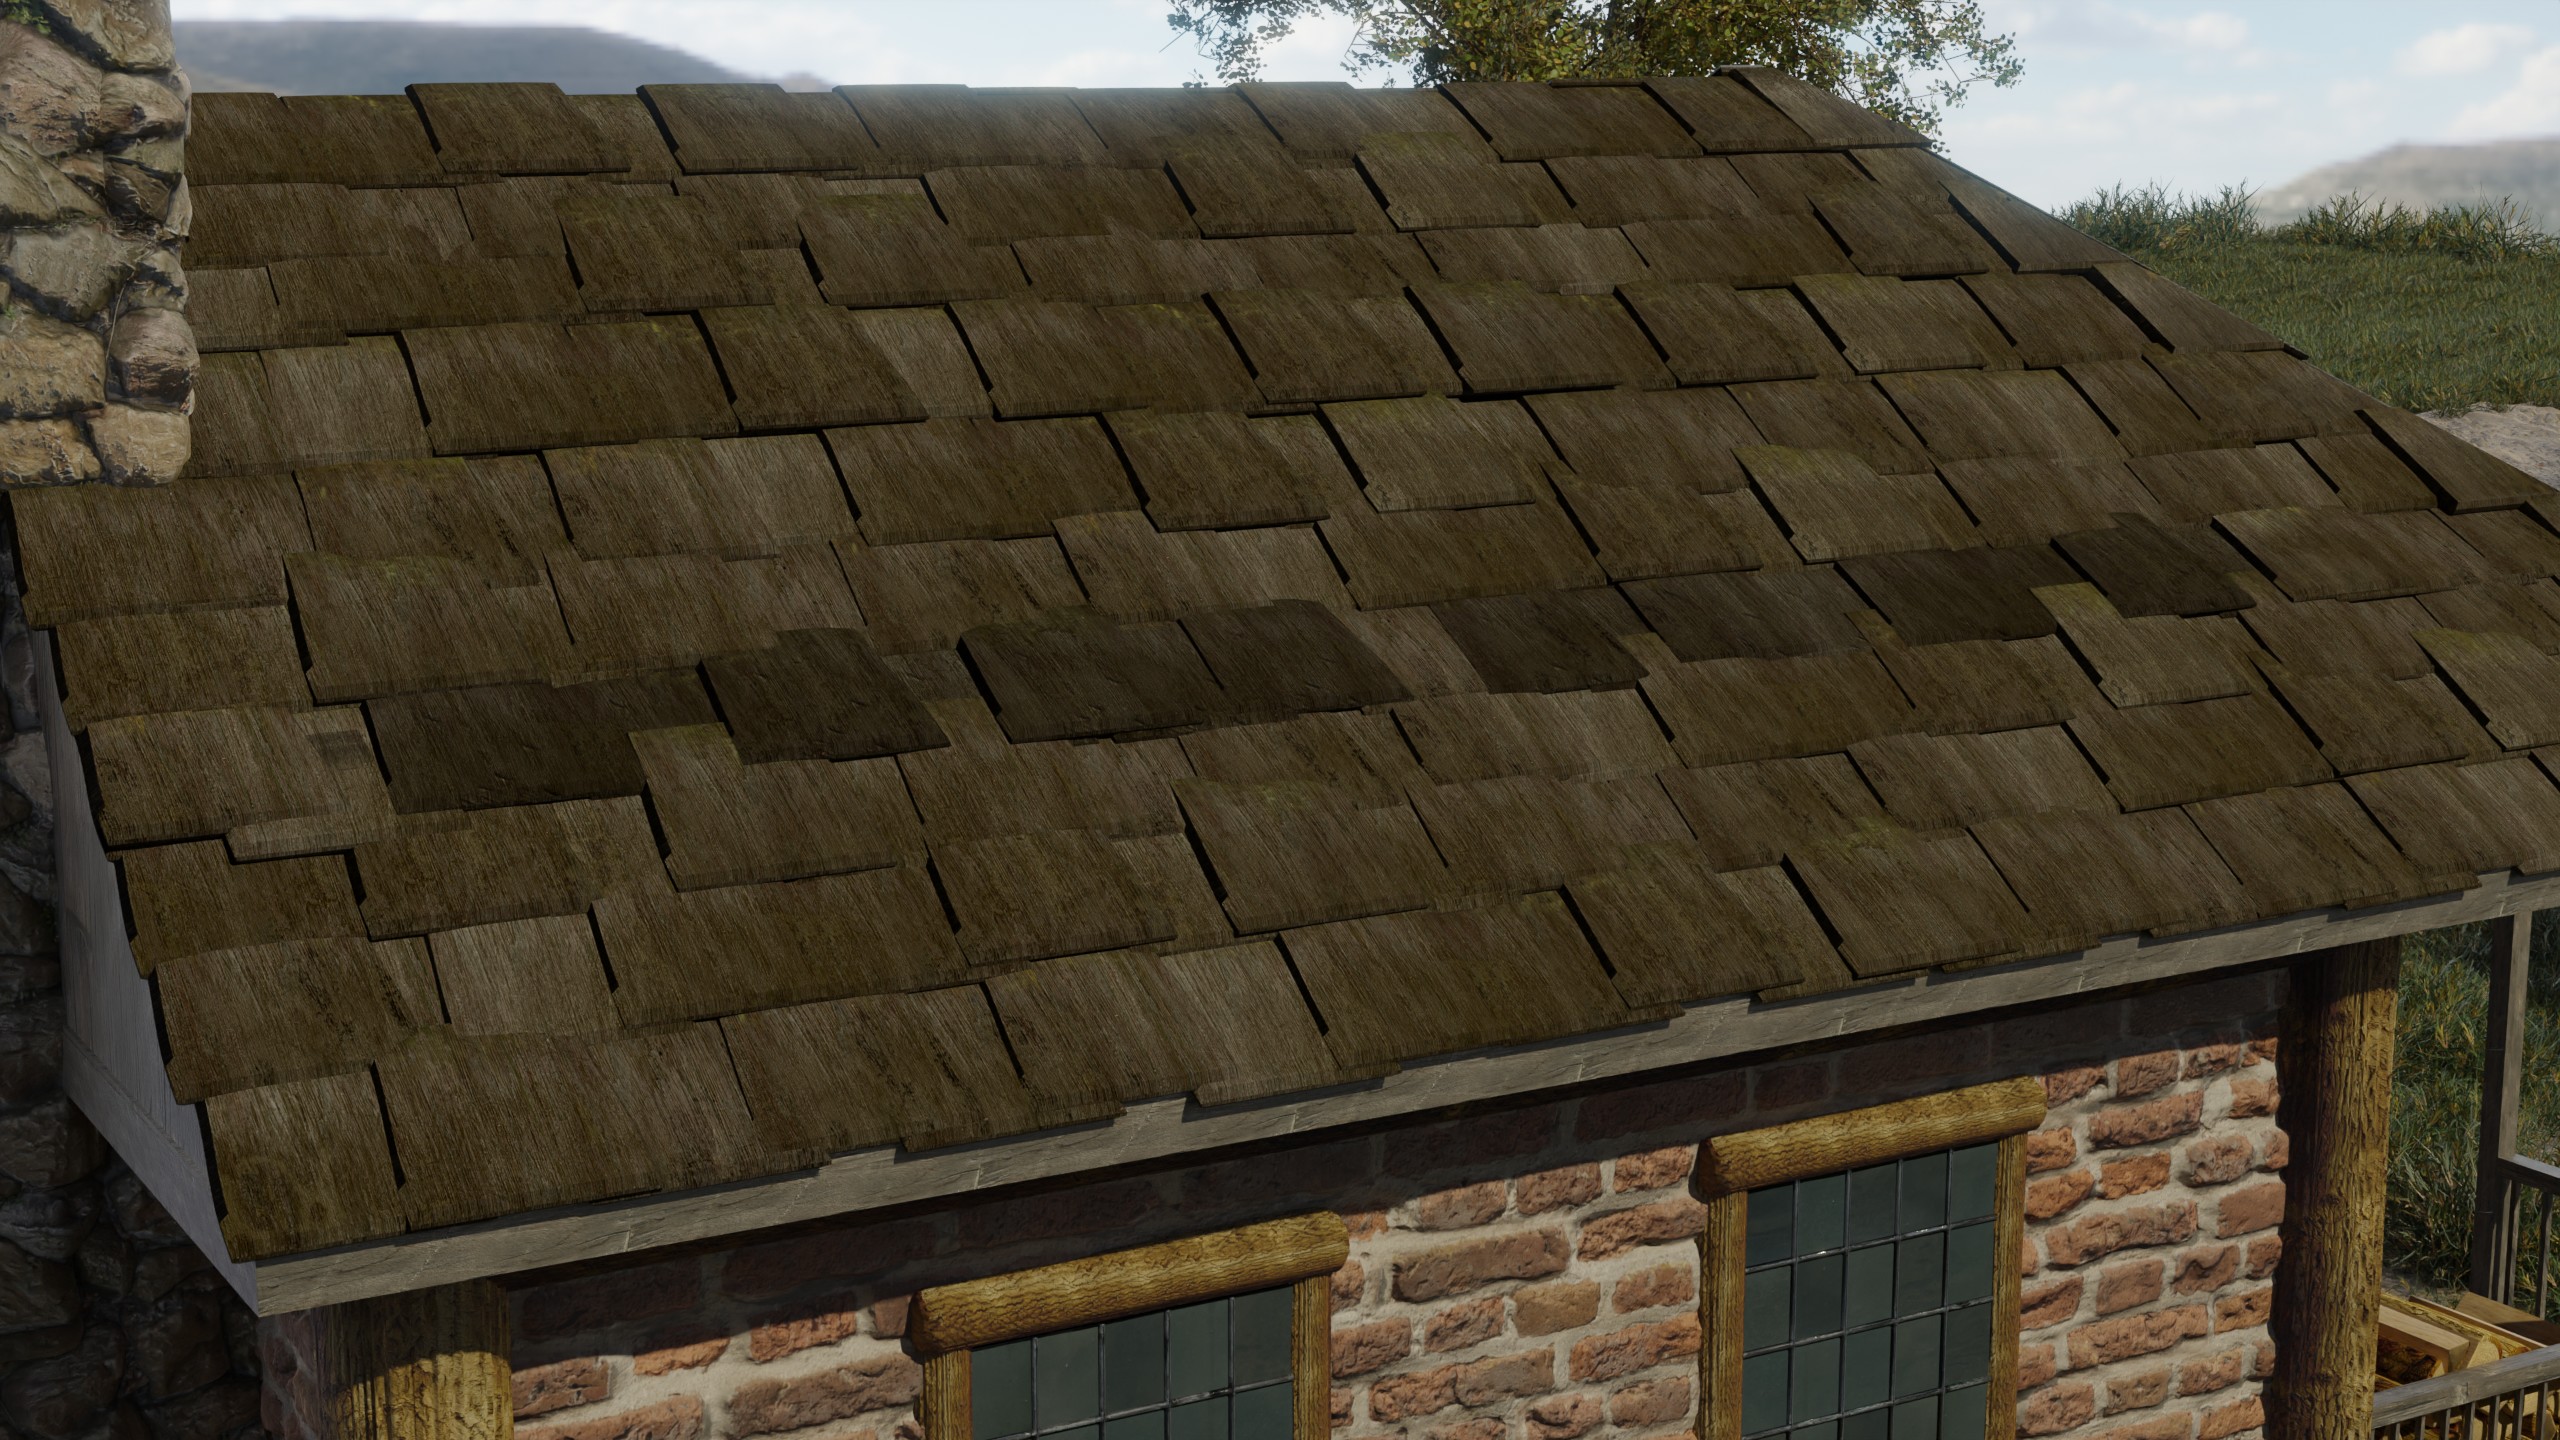
What I didn’t know about at this point though was linked objects. So there are about 450 different roof tiles. That definitely ate up a good bit of extra memory and added to the rendering times.
The chimney uses a cobblestone texture with subdivision and displace modifiers to give it this stacked stone look. For some reason, it looks a lot slicker and wetter in still shots than it does while the camera is in motion.
The hard part while building the chimney was the UV layout. It took some experimenting with applying seams to break it up in the most coherent way possible. I wasn’t completely satisfied with the result (some stones are bigger than others), but I was able to position everything so it wouldn’t be too distracting.
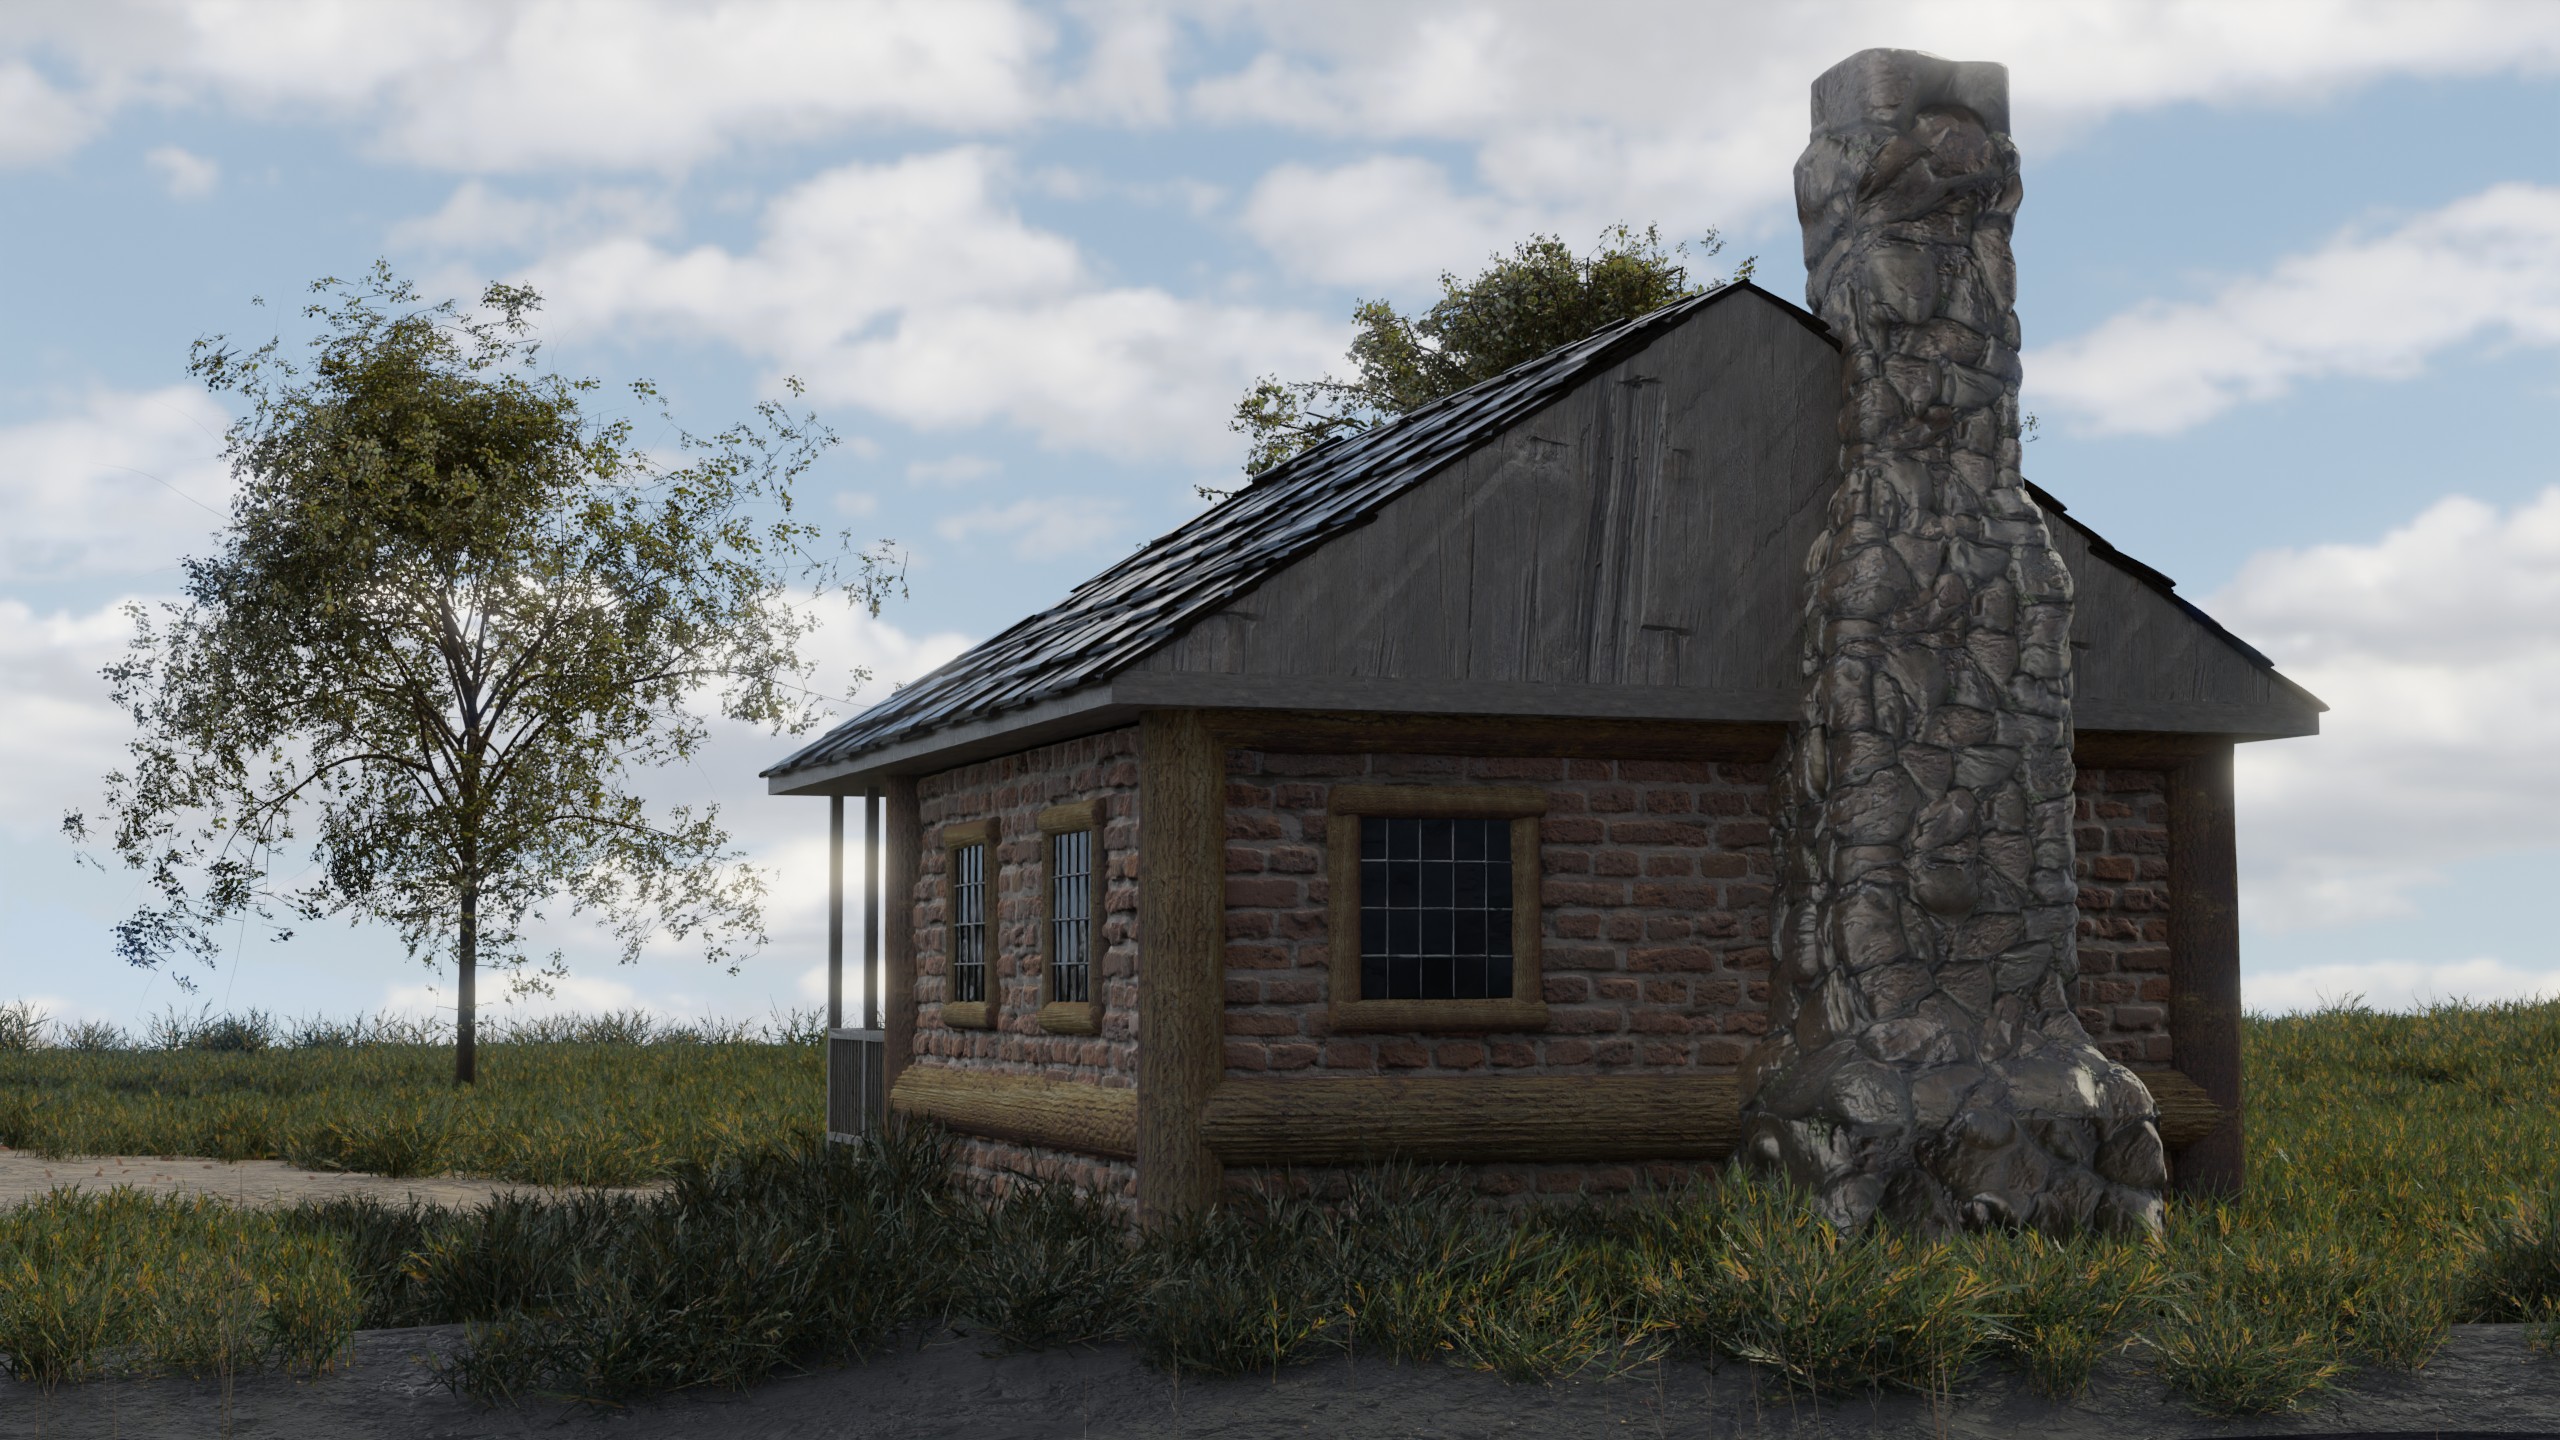
This one structure singlehandedly made me understand the UV pain I kept hearing about from other Blender artists. Once I got the hang of seams though, it did become a lot less frustrating.
Combined with the prop staging on the porch, I am definitely satisfied with how the cabin turned out.
Goal 5 – Build Realistic Trees and Grasses
For both the grass and the trees I followed Rob Tuytel’s methods, and I even borrowed some of his textures here. The grasses are individual strands. The strands are collected into clumps. The clumps are used as the collection source for hair particles.
I had an interesting problem here. Switching to weight paint, you can see the main grass particles in some places go all the way up to the house and the edge of the pond. Even with painting zero weight under the house and in the water, with 75,000 particles some of them still ended up there. I had grass growing up (unnaturally) from the middle of the water, and (egregiously) coming right up through the middle of the deck boards.
Unfortunately, I didn’t think to take any screenshots of that at the time. But, I solved the problem by splitting the ground under the cabin and the water into their own objects. That completely prevented the particles from going where I didn’t want them, and it also made it a lot easier to place the water reeds around the pond.
I built the trees using the Sapling Tree Gen add-on. I agree with Rob here, that tool is pretty good, but the leaves it gives you don’t look that great. So I used Rob’s methods to add twigs and leaves to the trees.
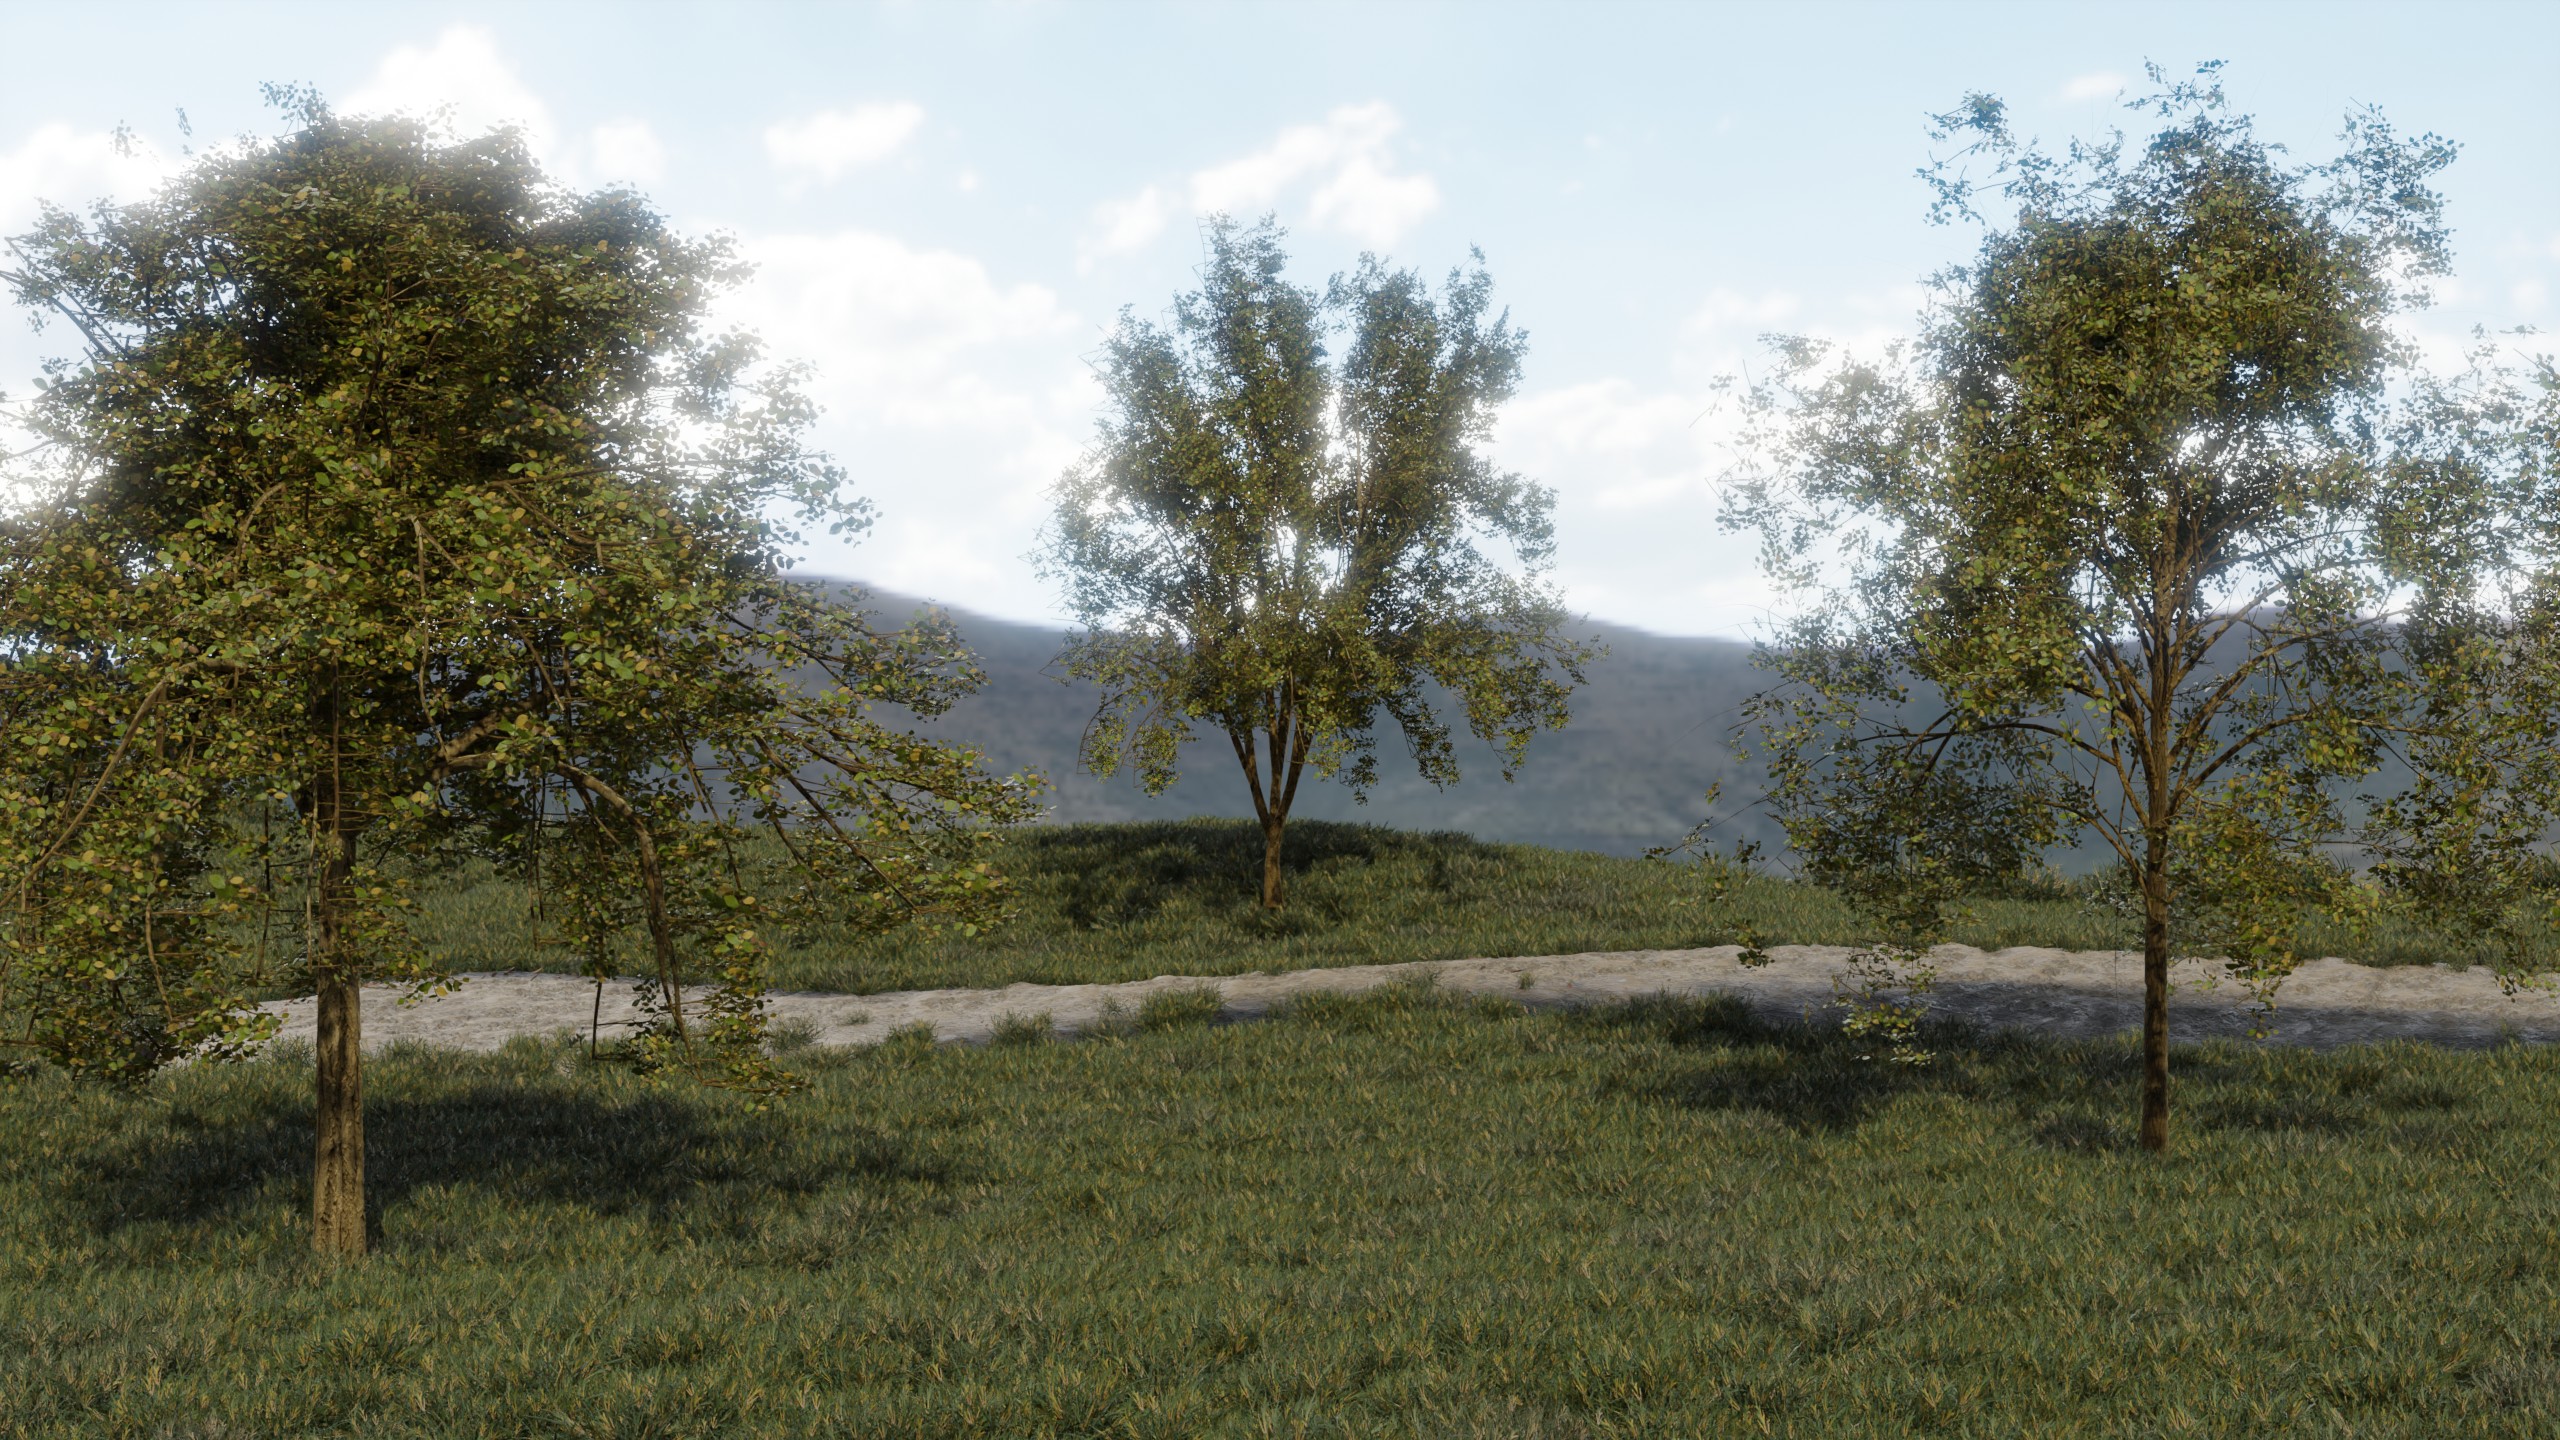
I didn’t want to use the animation feature in the sapling tool because it just felt like too much motion, and it all had to get baked in while creating the tree. There is no adjusting it later. So instead, I used a wind and turbulence force that would affect all of the particles.
I then just had to modify the wind force and turbulence pattern to get the effect.
Pretty cool effect on the grass.
Sometimes cool on the trees.
When I started with the initial wind force and turbulence values, the grasses moved in gentle undulating waves, but the tree branches flapped around like windsocks in a hurricane. I spent hours making tweaks and adjustments before I achieved something that looked even remotely acceptable.
Just like the stumps, I don’t have a great fix for that. So, if you know something better, please leave a tip in the comments.
Goal 6 – Create Interesting Lighting Effects
For the background, I used an HDRI from HDRI Haven. I liked the scene, but I didn’t like how the lighting made everything look kind of flat. So I turned diffuse off in the ray visibility and added a sun light that gave me better shadows.
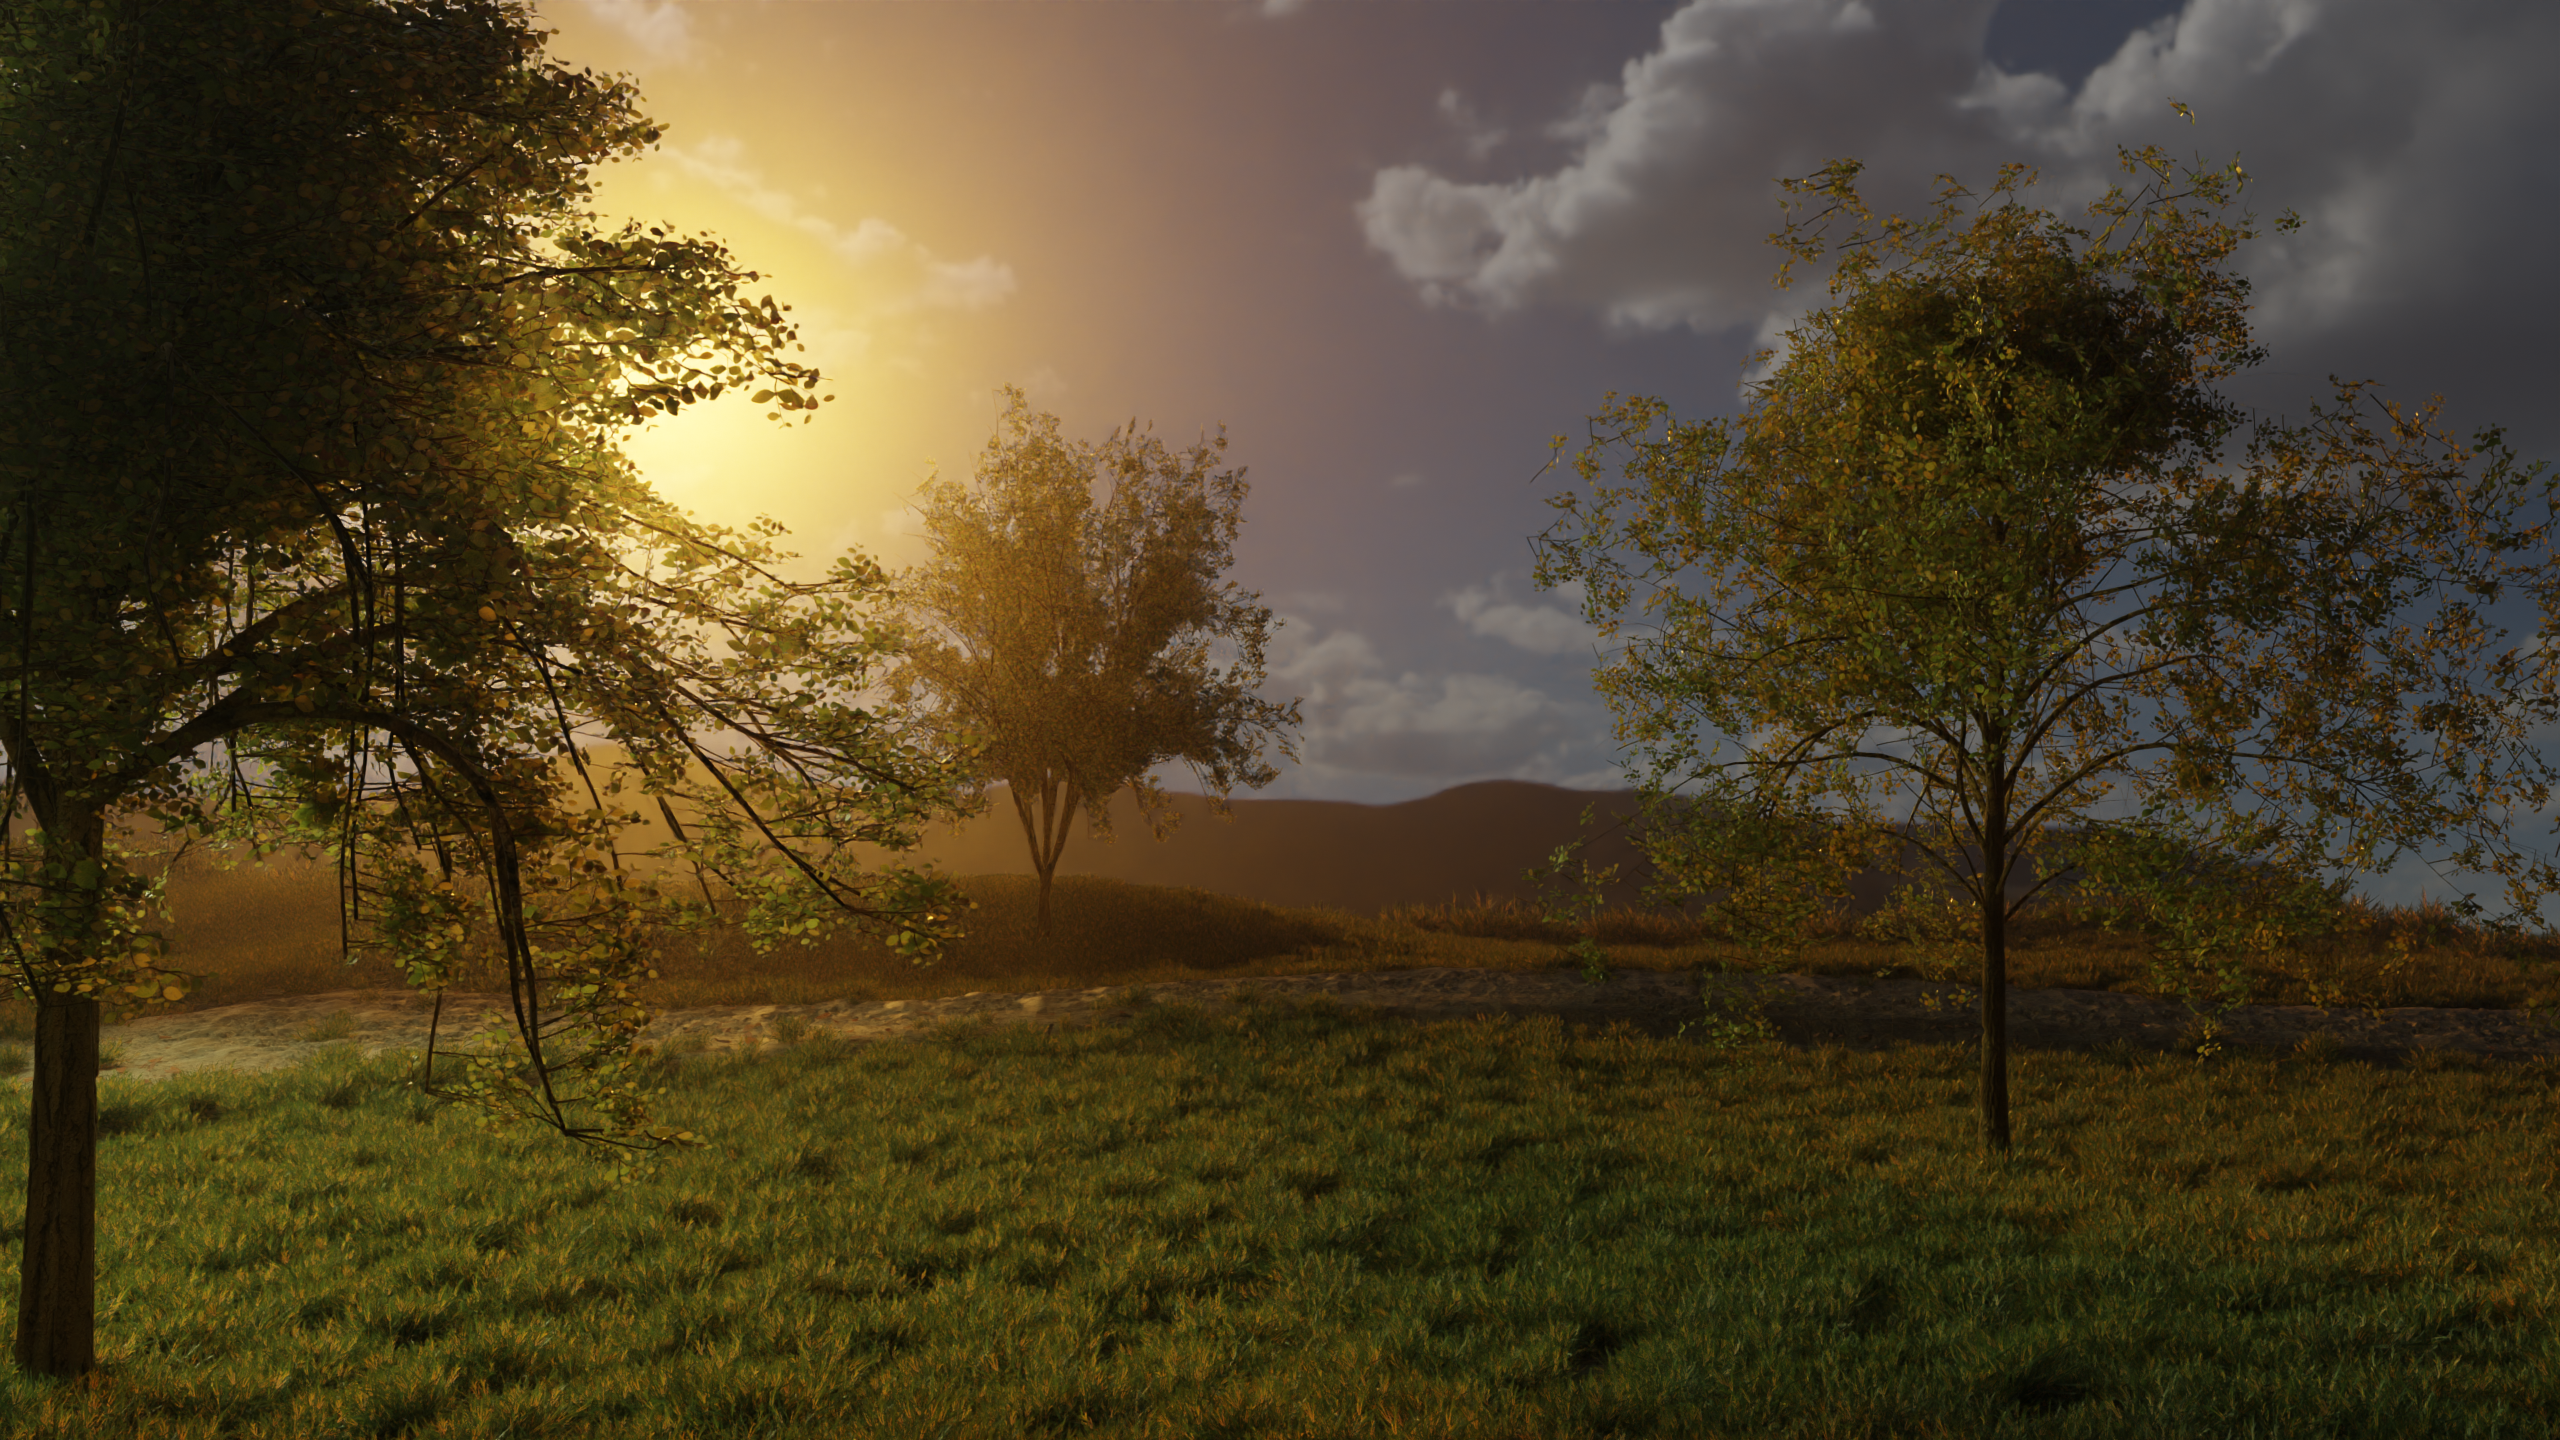
There were two shots that I wanted to get some cool lighting effects. The last shot through the trees featured a sunset.
To get that, I animated the sun X rotation to lower it on the horizon, enabled a fog layer with a volume scatter shader to get the ray effects, and got the bloom with a glare node in the compositor.
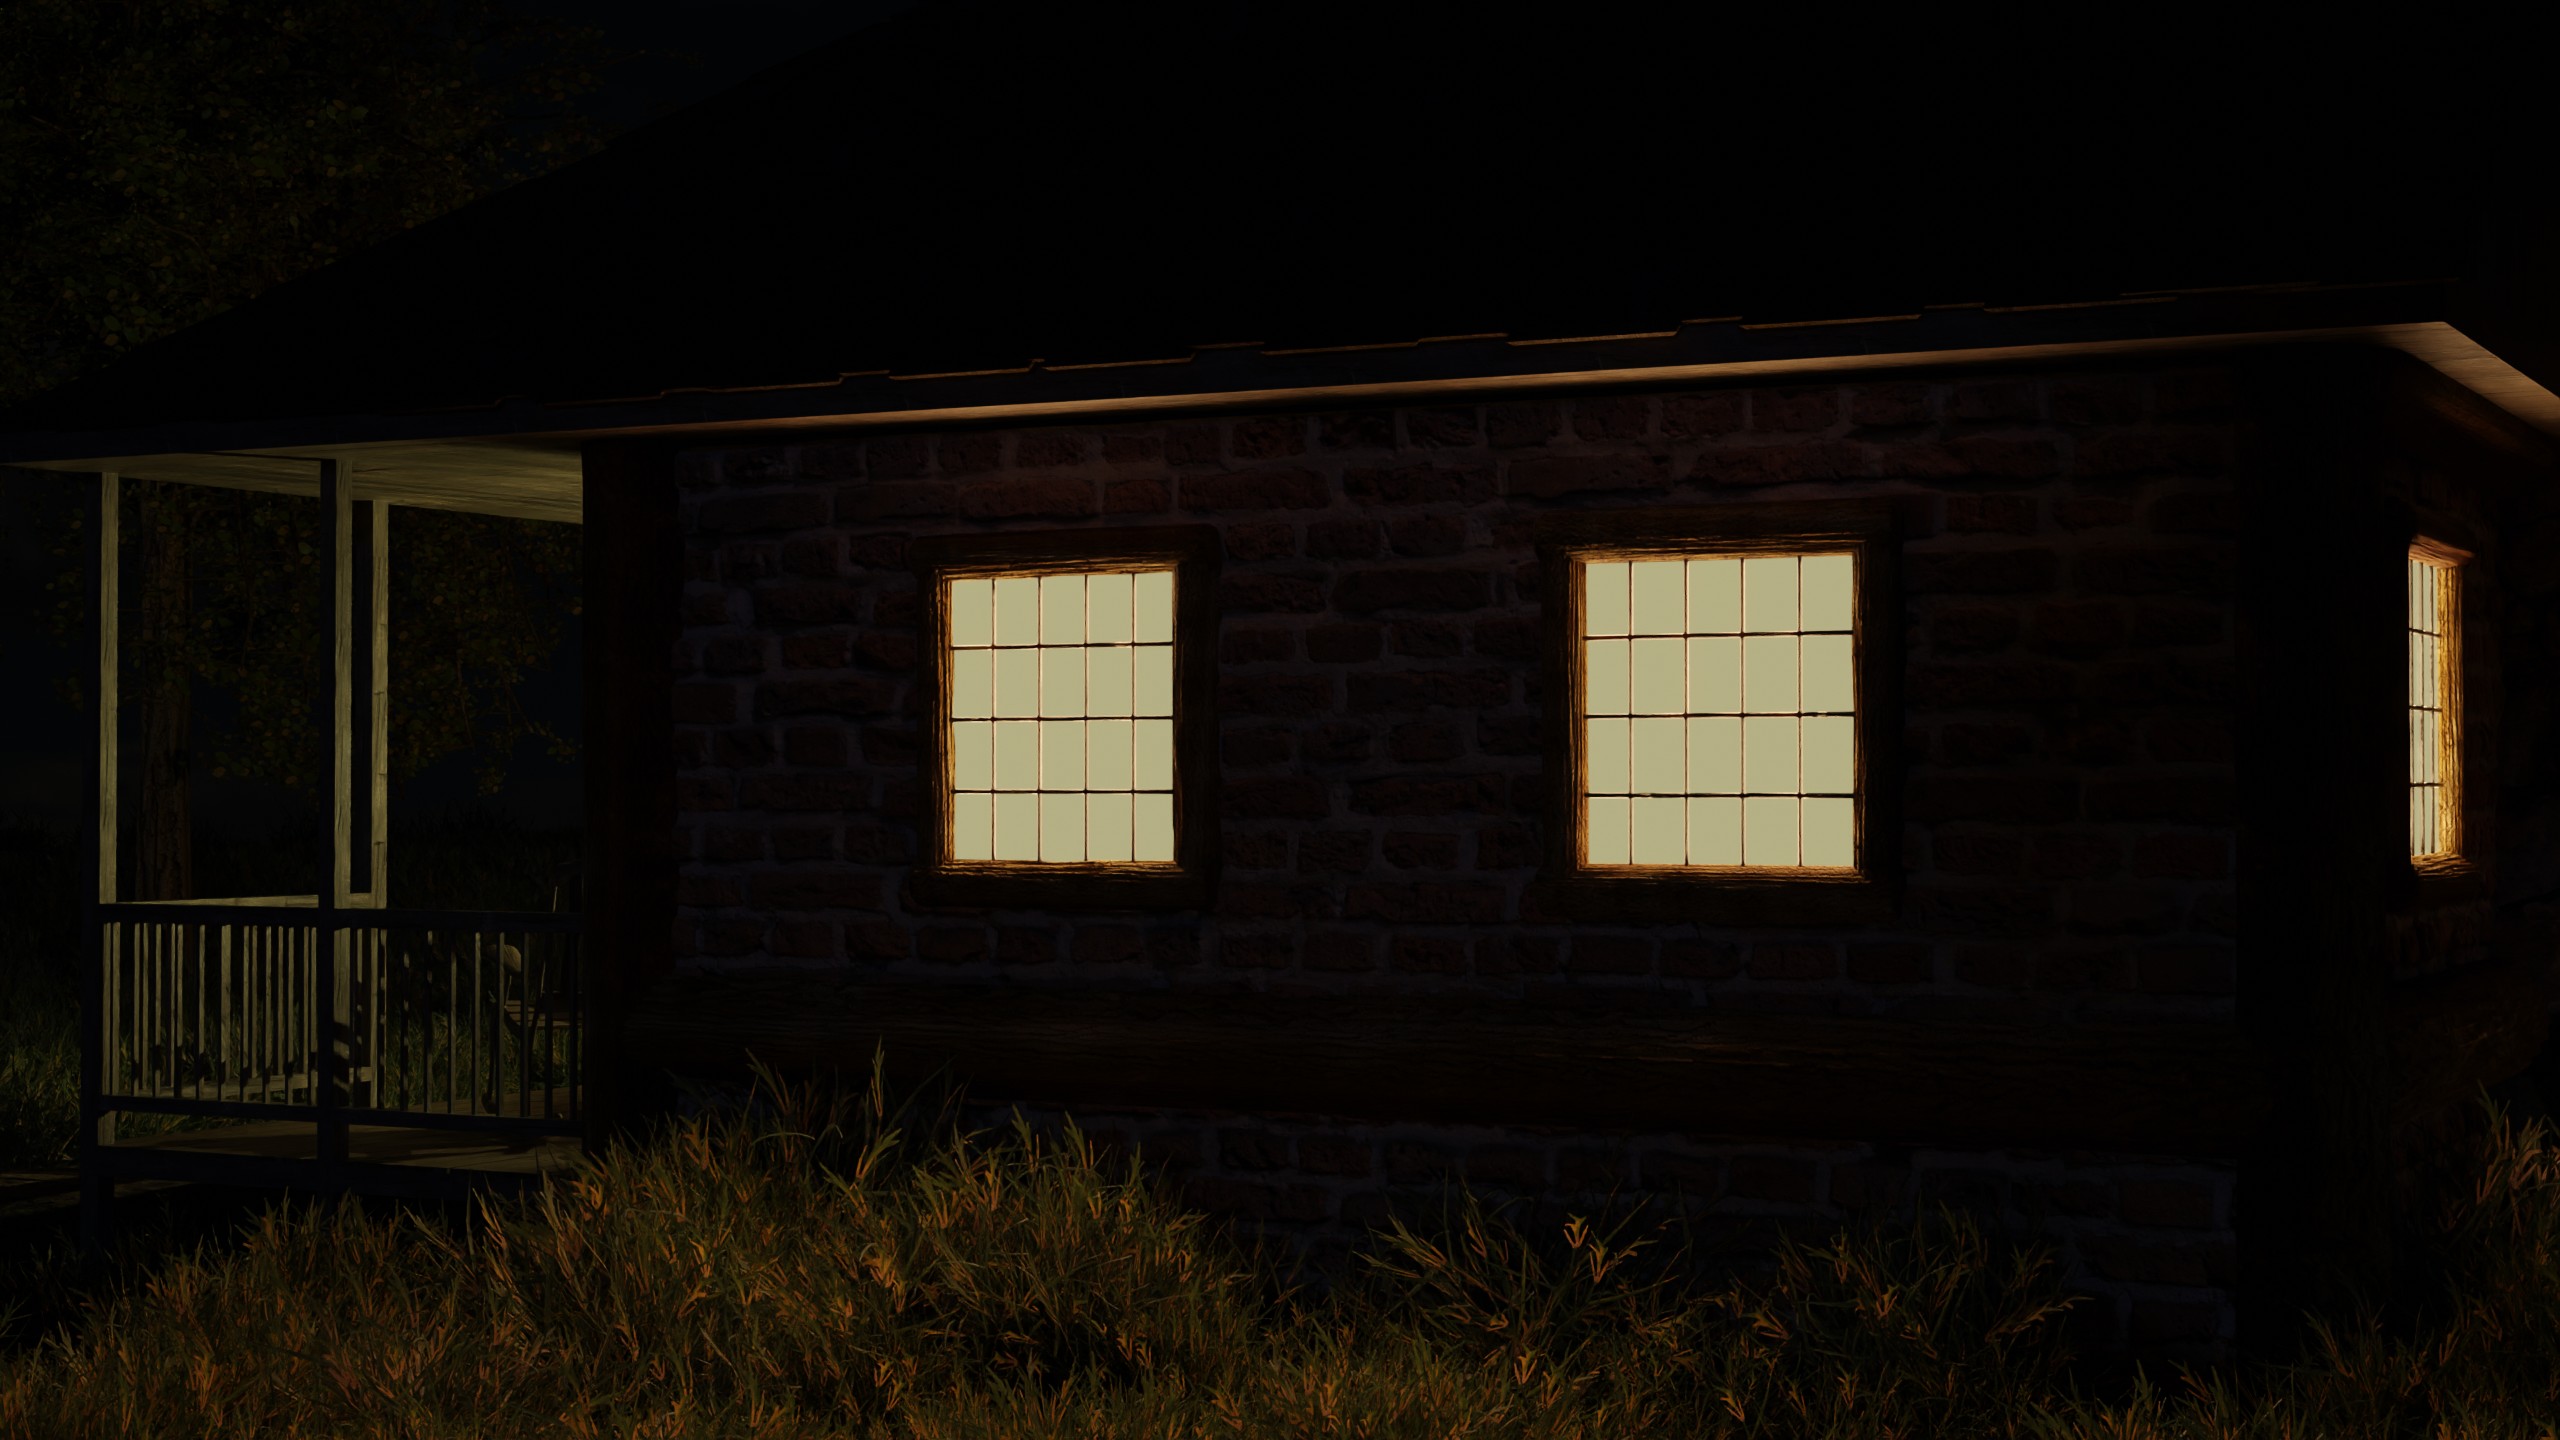
The last shot was more challenging. I set up some plane lights on the windows and gave them a soft orangish yellow hue to simulate a warm fire in the cabin’s fireplace. That wasn’t enough though, so I added an emission value to the window texture and keyframed it on only at night.
To get the fire flickering effect, I added a noise modifier in the graph editor for both the plane lights and window emission.
Last, I did a similar process to the lantern. This was the most complex prop I created for this, and it turned out really awesome, especially once I lit it up.
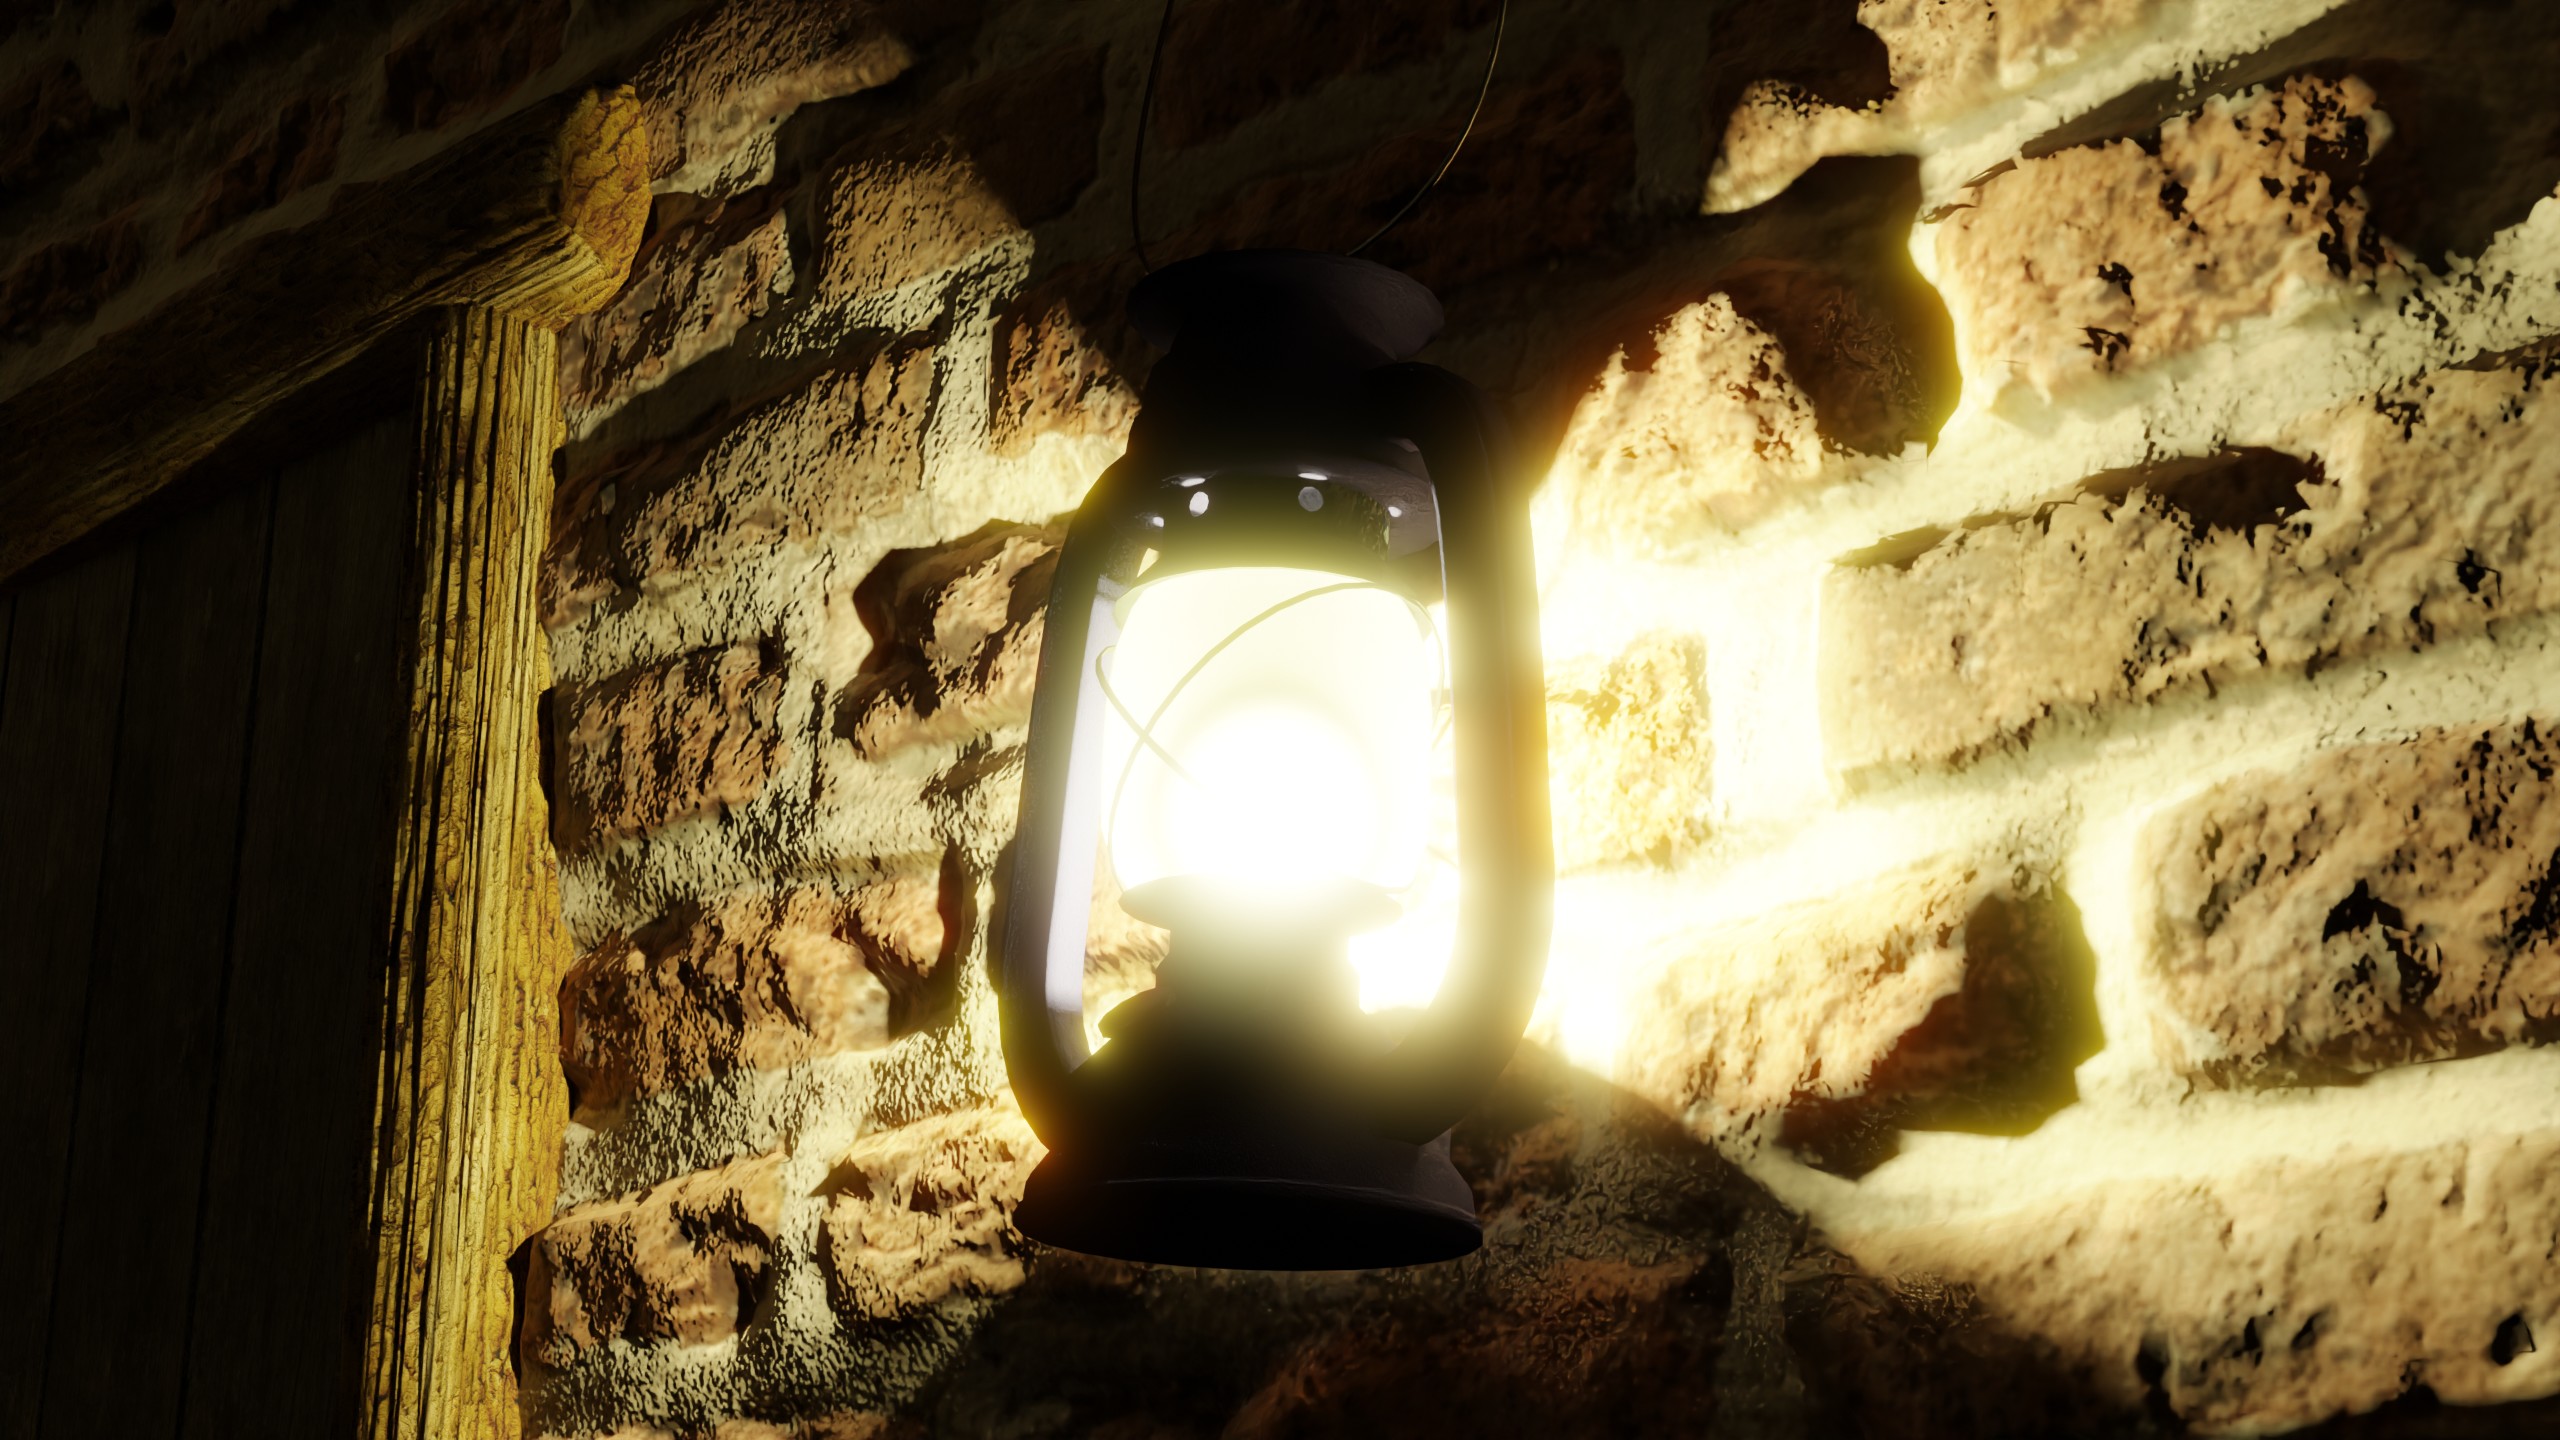
To simulate the flickering flame, I added a noise modifier to a point light’s X, Y, and Z positions. By turning most objects off in the render preview, I could observe this in real-time using the viewport to dial in how much flicker motion I got by looking at how the light moved. When I went to render though, I found getting light through the lantern’s glass globe was a bit more of a challenge than I had anticipated.
The glass globe shader looks like this:
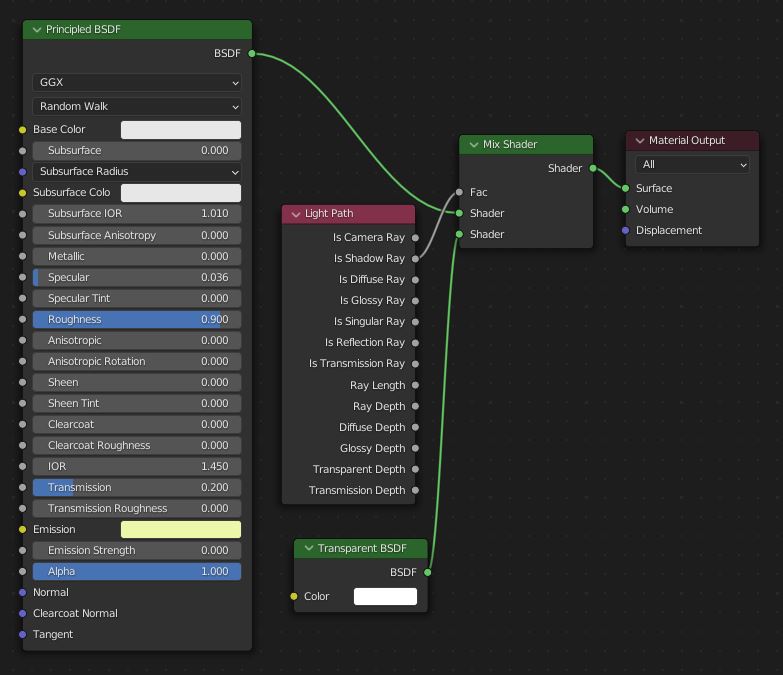
I was counting on using the Eevee render engine to create a simple effect preview of how this would look before when I switched over to the more time and resource-intensive Cycles engine. Unfortunately, when Eevee light rays encountered the glass shader, they ignored the transparency completely and the light just stopped.
Clearly, that made it quite difficult to preview how the light flicker would look.
I didn’t want to render the entire thing in Cycles every iteration because of how long that would take. So after I got the estimated light flickering position where I wanted, I used Eevee to approximate the lighting look on the rest of the objects with the glass globe disabled. I used a couple of single-frame renders in Cycles that included the globe to verify the rest of the light paths and coloring looked good.
Then I just pressed render animation and sent it.
A calculated and educated gamble paid off. Success!
I applied a similar flickering effect using the brightness of the window plane lights. The resulting soft glow and reflections off the house eaves and around the front porch are calm and satisfying.
If you noticed, there’s a final little detail in this shot. I moved the ax from the chopping stump up to the front porch to give the cabin some more of that “lived in” feel. Can’t just leave your tools out to rust overnight, right?
Conclusion – What I Learned By Creating My First Movie Using Blender
Whew. We reached the end.
So after all of that, what was the biggest lesson I learned by creating my first movie using Blender?
Well, I invested about 2 weeks of spare time into modeling, texturing, and animating the scene. It took me about another week to get it all rendered out one small chunk at a time due to various challenges I had which I’ll talk about in a future post.
But the SINGLE BIGGEST LESSON from this project… know when to walk away.
That’s such an important lesson, it’s worth reiterating. In both life and art,
KNOW WHEN TO WALK AWAY.
Art is never done, at some point the artist just abandons it. I could have kept tweaking this for months, but if I did that, I would never move on to the next project.
My goal with this movie wasn’t to create a perfect landscape. I wanted to learn the Blender software and the mechanical processes to help tell a story. And I did that.
Was this a little ambitious for starting out with a first video project? Yes.
Would I recommend other people trying to learn with this method?
Also yes.
But that’s because I love a good challenge. Results may vary.
